A comphrensive look into all Swipekit features and how it can help your workflow.
All Swipekit features, in one place
Table of Contents
Swipekit extension
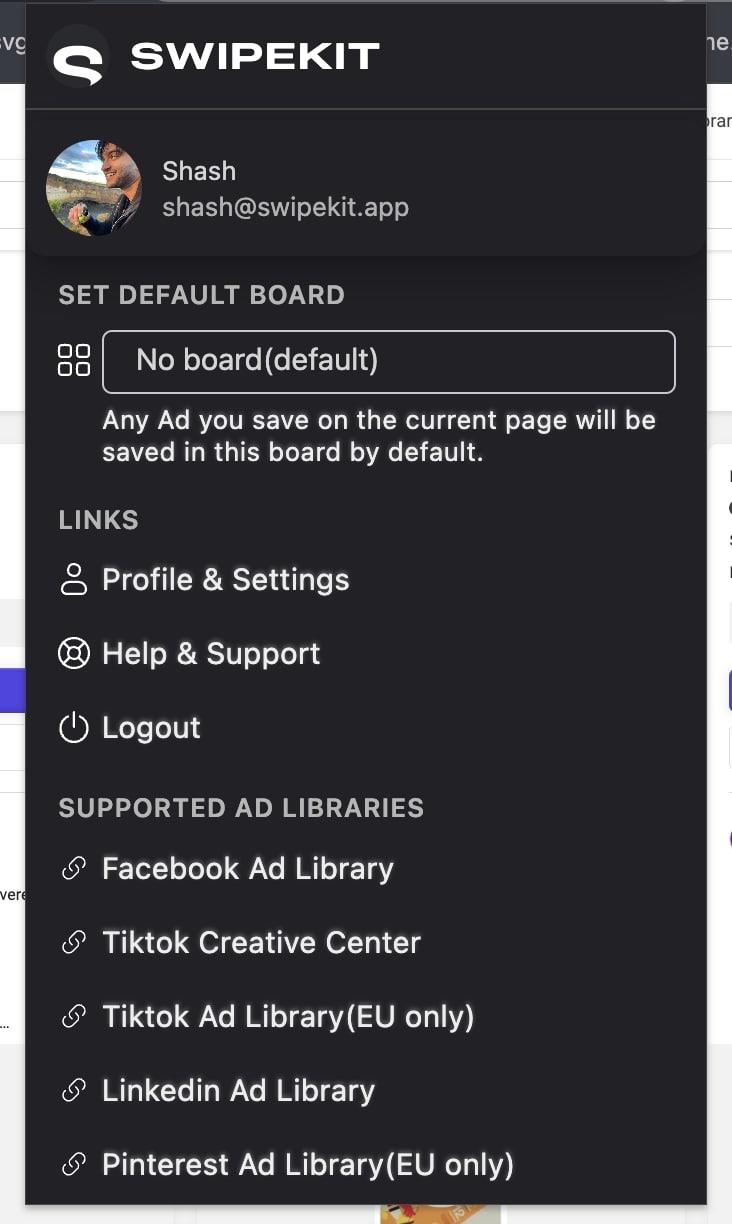
The Swipekit Chrome browser extension allows you to quickly save Ads from
Facebook Ad Library features
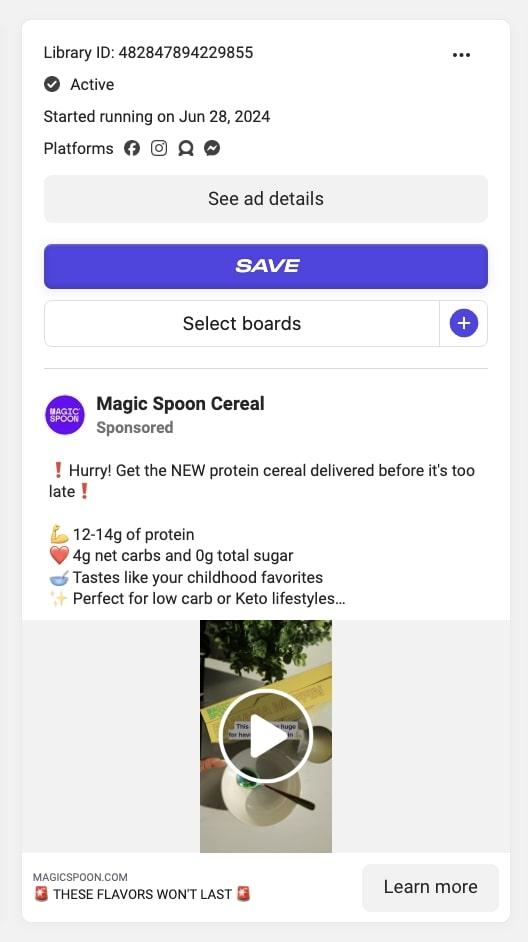
Quickly save Ads from the Facebook Ad library.
Swipekit will save:
- Ad title and Ad copy
- All variations of DOC/DPA Ads
- All carousel images & videos
- Videos in HD format(if available) and video cover image(if available)
- Ad network(Instagram, Feed Ad, etc)
- Landing page link(and its screenshot)
- Ad video transcript
- Other Ad formats like multi imags, page likes, etc
All these Ad assets and metadata can be viewed and easily downloaded from the Swipekit dashboard.

In addition, Swipekit also saves:
- Ad category
- Asset format
- Ad active days(how long an Ad ran for)
- Landing page link
- Ad library link
- Landing page screenshot
- Ad video transcript
AI Scripts
Generate ad concepts, video scripts, and ad copy directly from your saved ads.
Swipekit’s AI Scriptwriter turns inspiration into action by helping you create ready-to-launch ad ideas in minutes — all based on your existing ad library and brand brief.
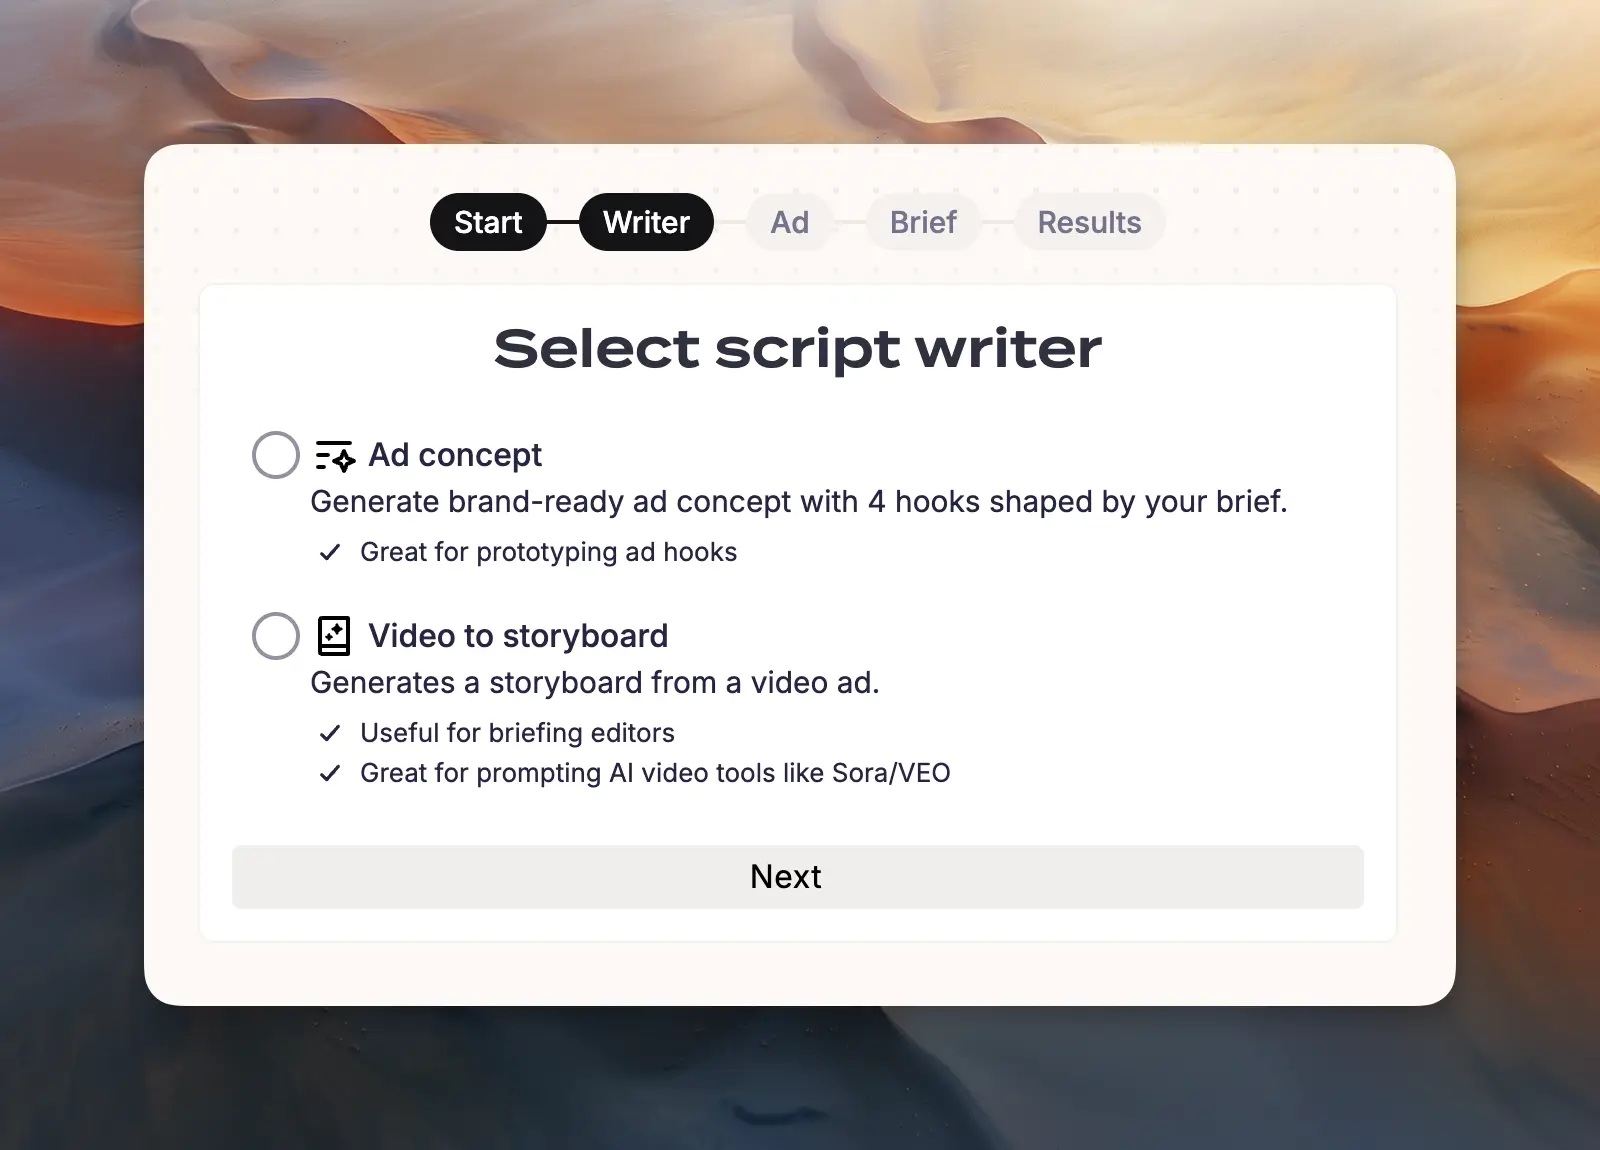
Swipekit will generate:
- Ad Concepts — Campaign ideas and hooks inspired by top-performing ads.
- Ad Copy — Fresh ad copy variations modeled after your chosen reference ad.
- Video to Storyboard — A shot-by-shot storyboard from any video ad, ready for editors or AI video tools.
Each script comes with structured outputs in Markdown and JSON, so you can copy and use them instantly in ChatGPT, Veo, Sora, or any AI video generator.
How does this help? Instead of jumping between ChatGPT, Copy.ai, and video tools, AI scripts keeps everything in one place, saving hours of manual prompting and idea rewriting.
Ad Tracker
Swipekit tracks saved Facebook Ad and updates its running duration. This gives you a good idea of how performant an Ad is.
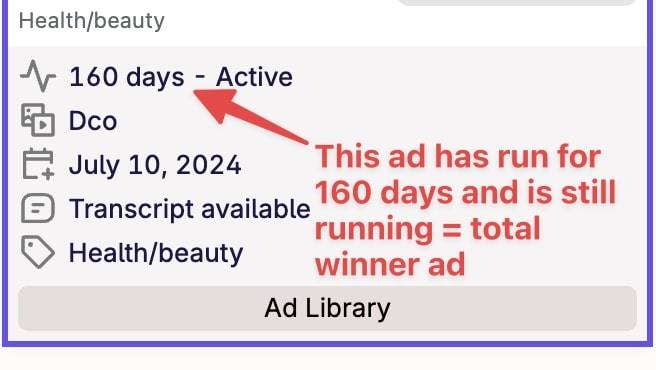
How does this work? After saving any Facebook ad library Ad, Swipekit will 'ping' the
ad and check whether it is active or not.
Ad tracker is faily accurate with +-3 days of variance.
You can also take this further and sort all Ads by their Ad active days(so longest
running Ads show up at the top).
To do so, use the
Ad running days sorting filter.
Tiktok Ad library
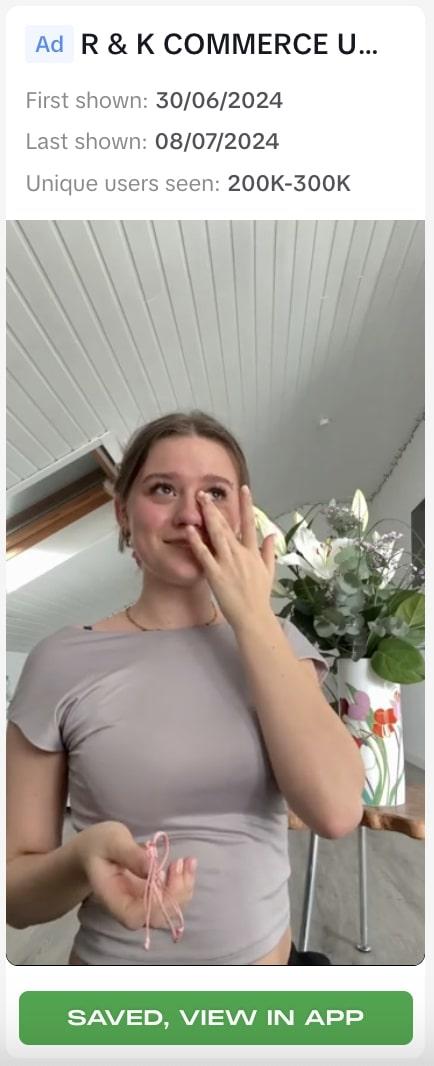
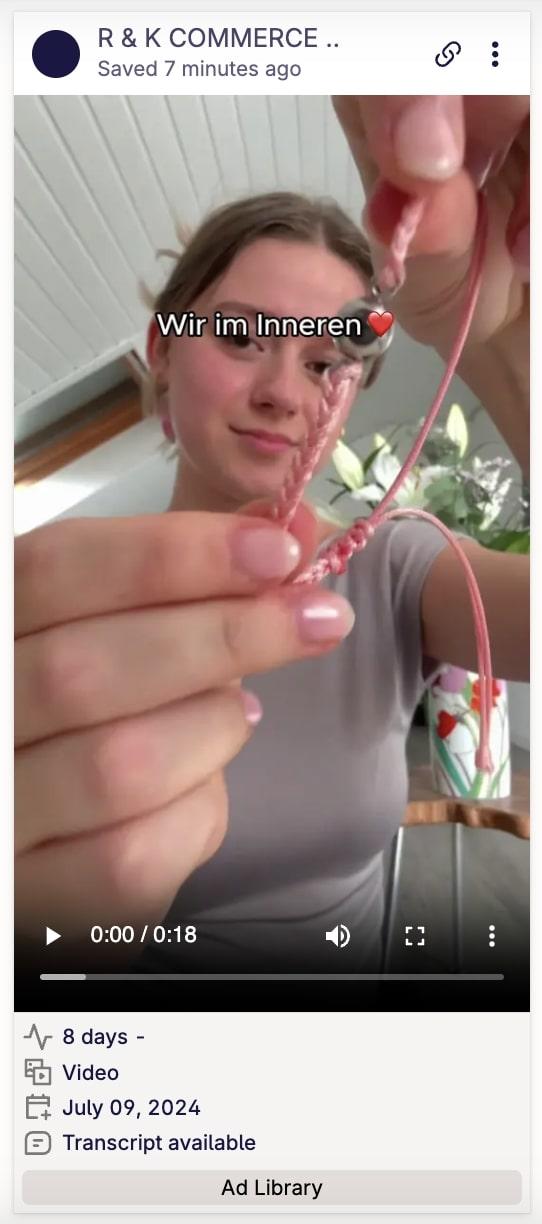
Swipekit saves the actual Tiktok video. Swipekit also saved metadata including the
creative/advertisor’s name as well as how long this Ad ran for.
Unfortunately the Tiktok Ad library only shows Ads that are running in the EU.
Tiktok Creative Center
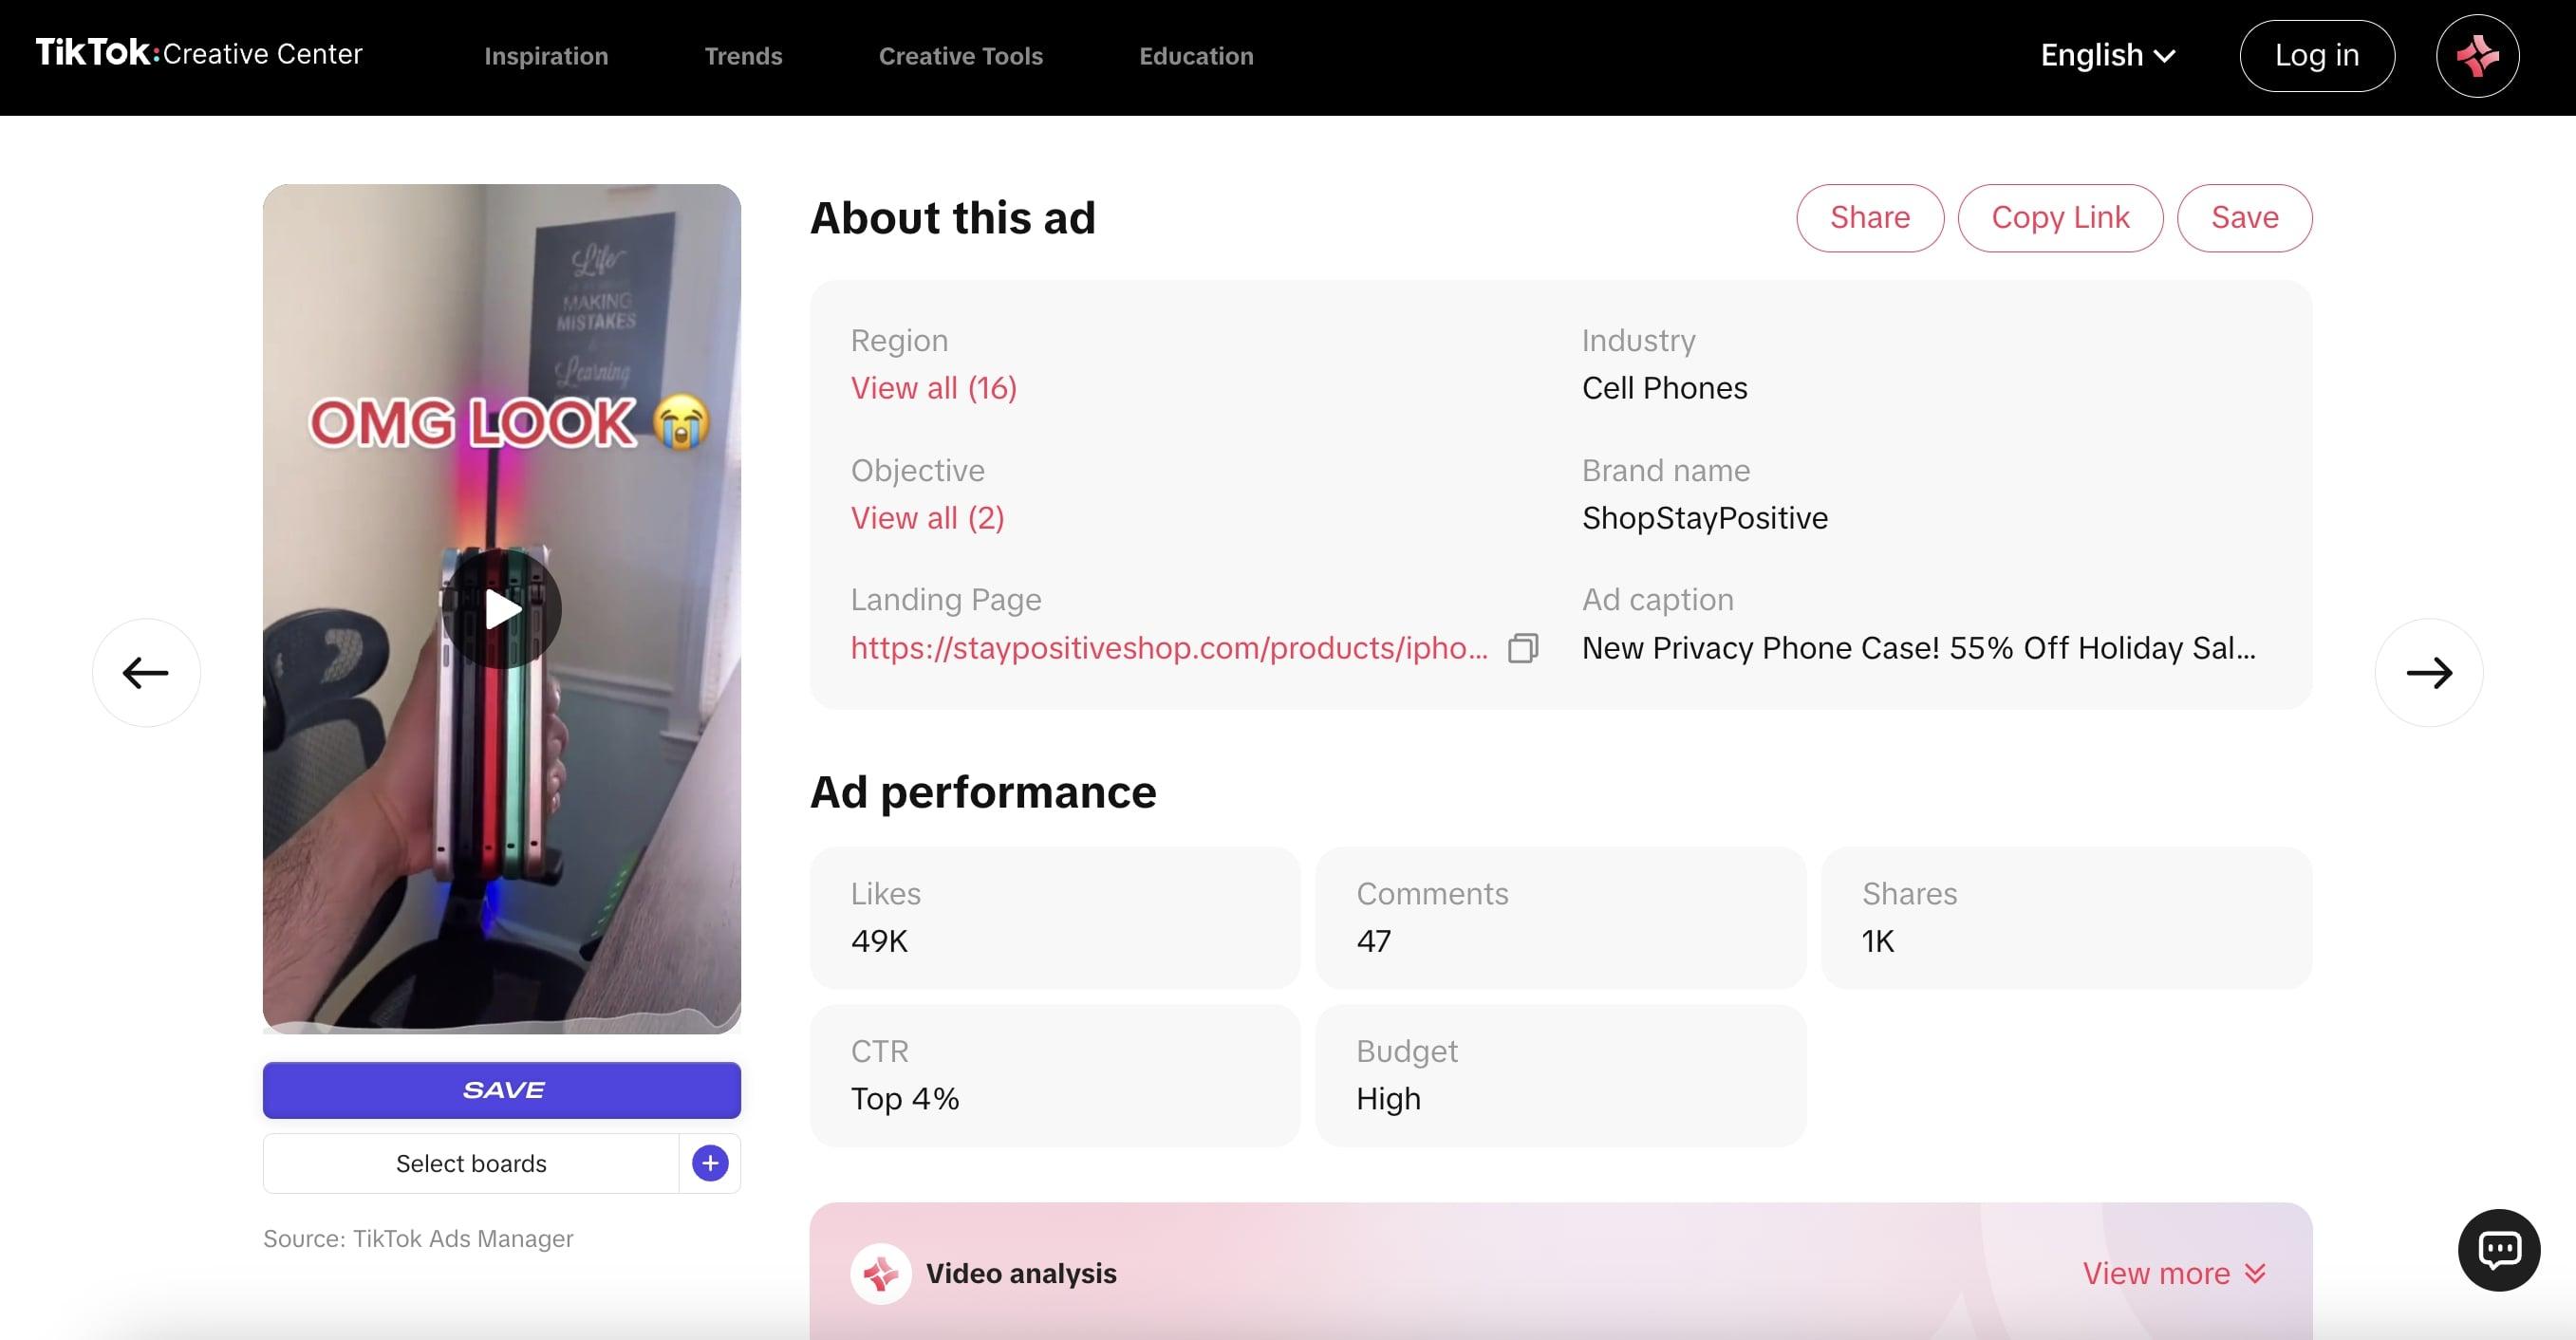
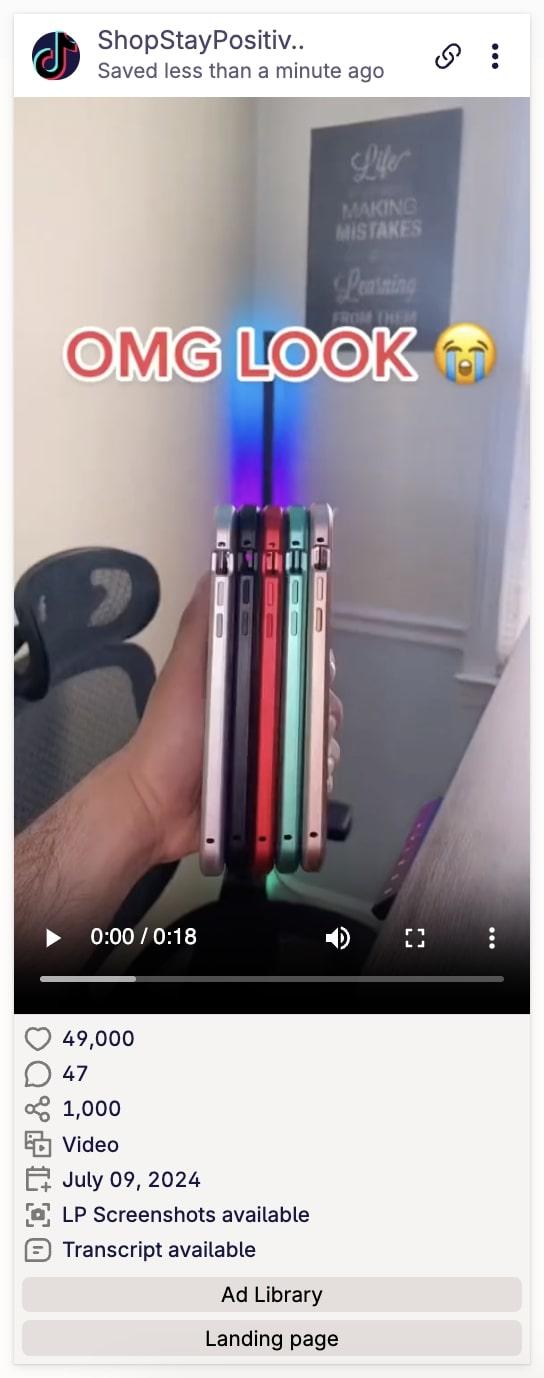
Tiktok Creative Center Swipekit saved the actual Tiktok video. In addition, it also stores some stats about the video such as:
- Likes
- Comments
- Shares
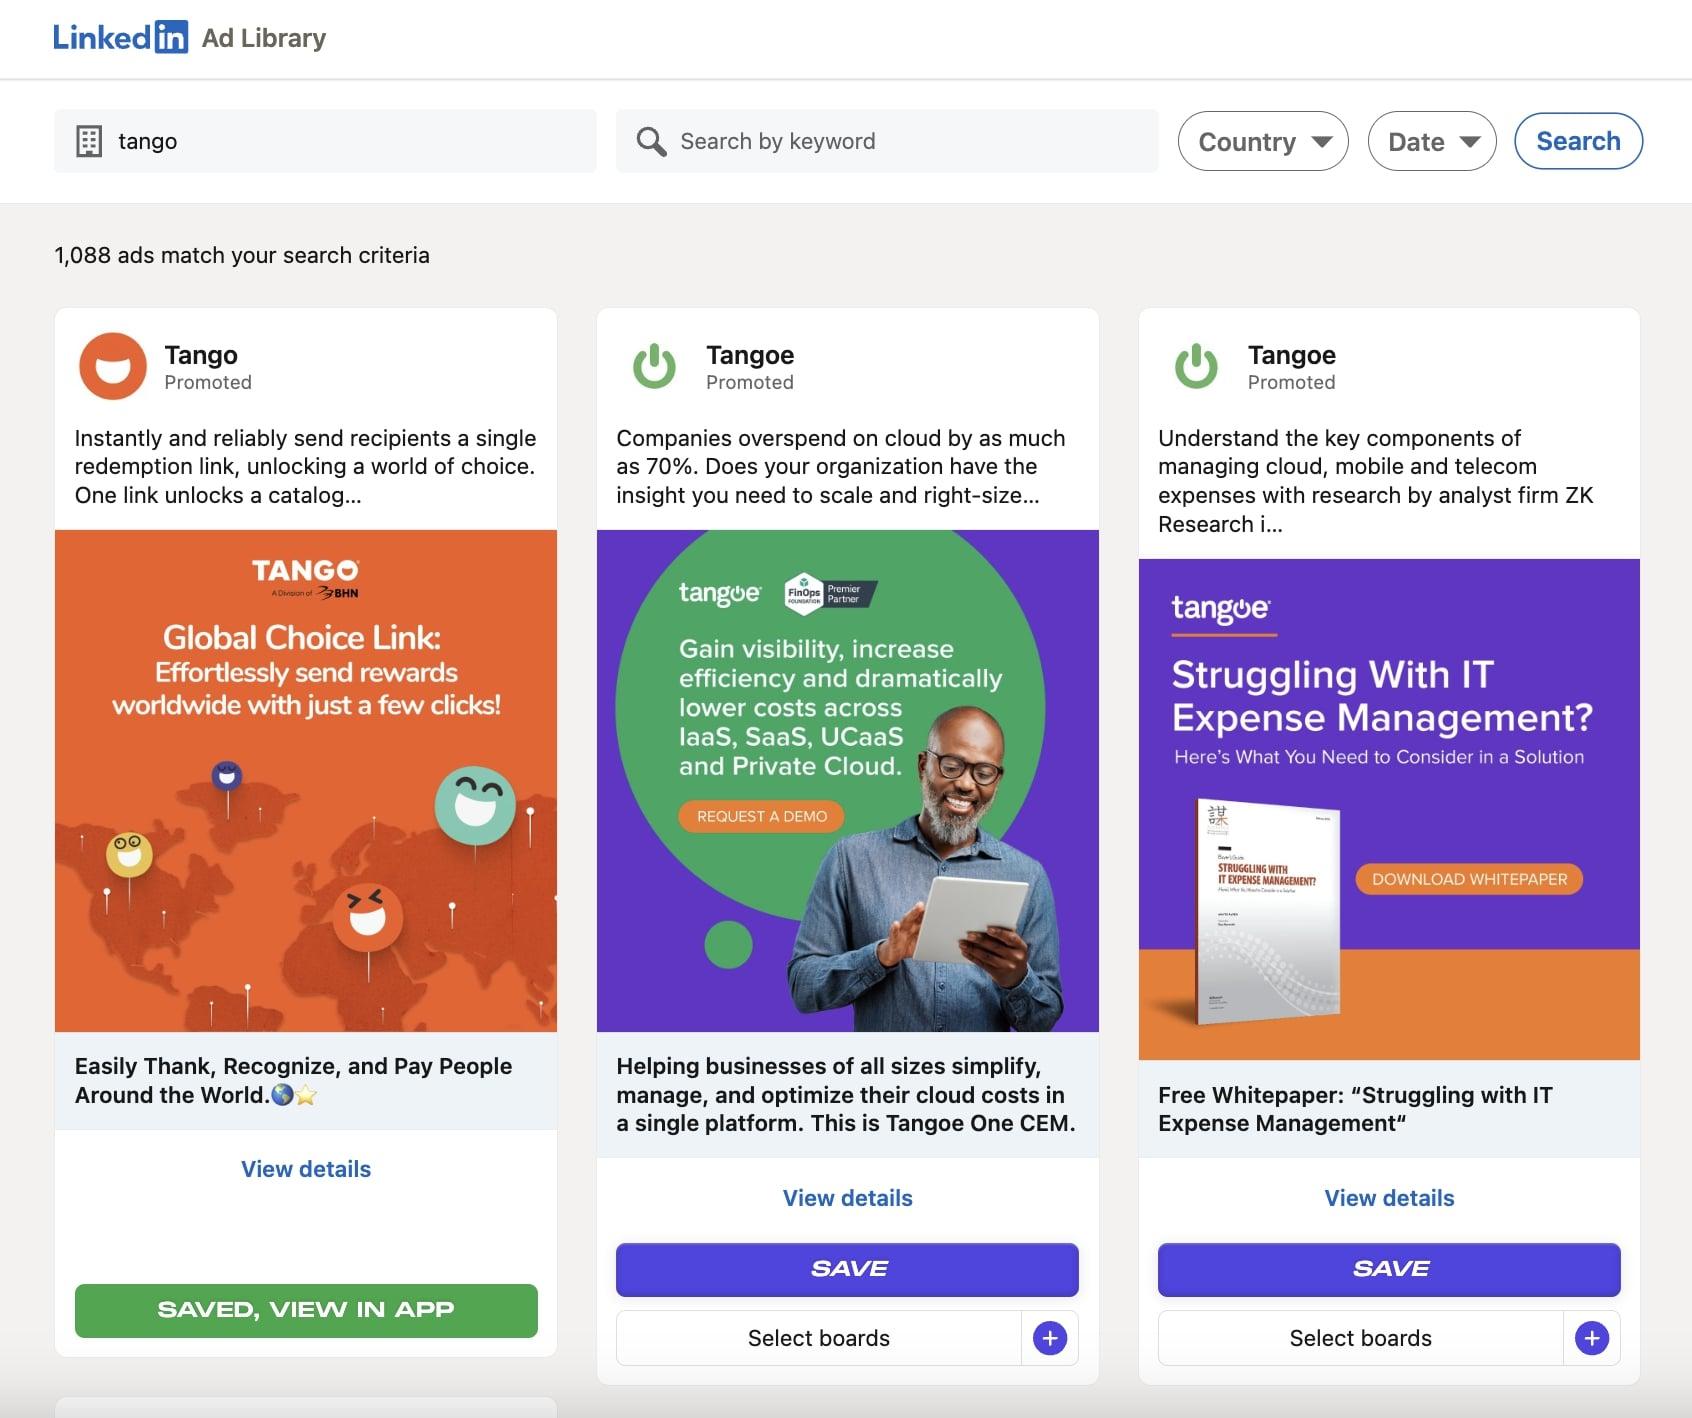
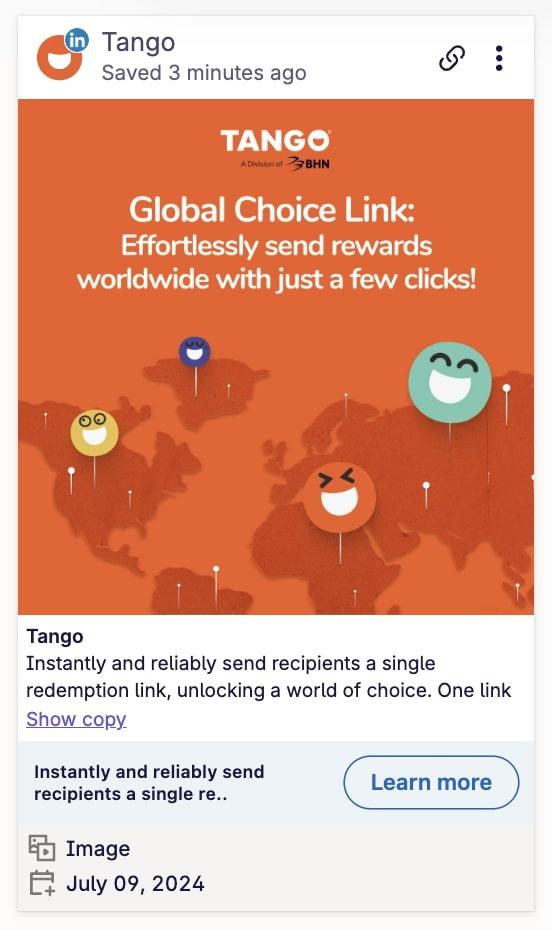
Linkedin Ad Library
Swipekit saves Linkedin Ad assets, including video and images.
In addition to that, Swipekit also saved the Ad title and Ad copy.
Swipekit Dashboard
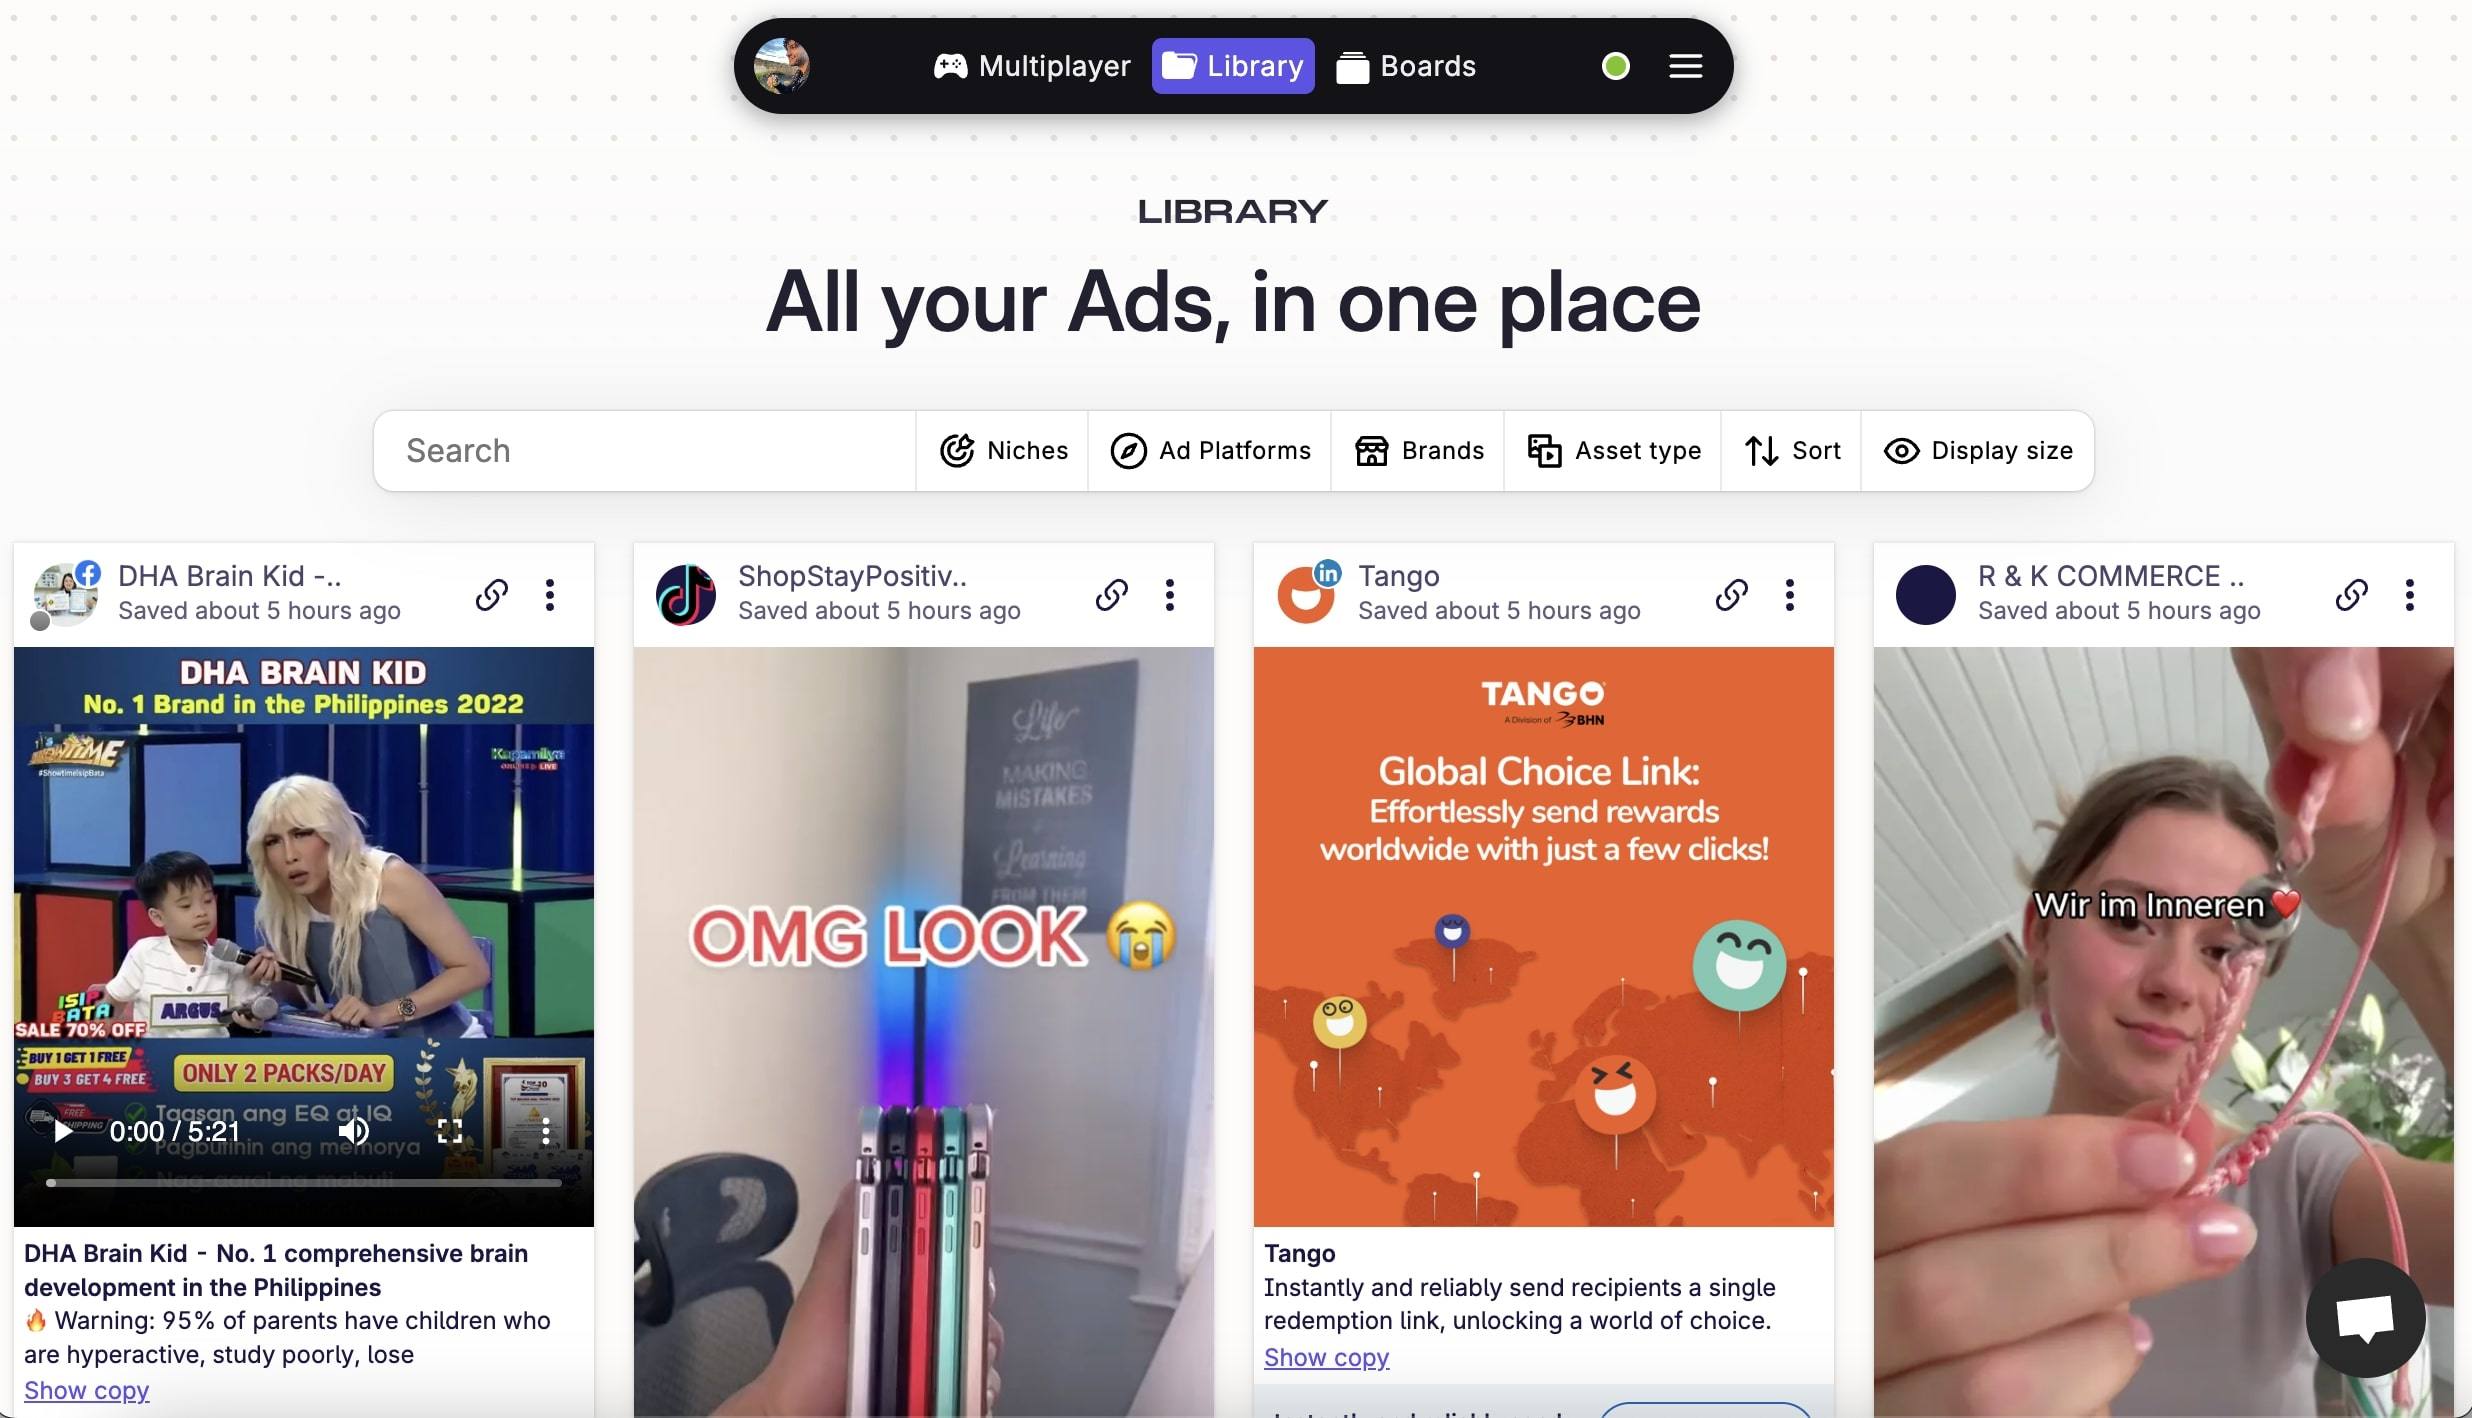
The Swipekit dashboard is where all your Ads will show up.
Here, you can filter your Ads by:
- Niches(Only available if you have saved over 50 Ads)
- Ad platforms(Facebook, Instagram, Tiktok, etc)
- Brands(Nike, Bleame, Magic spoon, AG1, etc)
- Asset type(Video, image, carousel, etc)
- Sort by Ad reach, Ad running Ads, saved At, etc
In particular, sorting is powerful and can help you quickly narrow down performant Ads.
You can also search for Ads via the search bar to the left of the filters.
Lastly, use Ad card display size to change how much information is shown on the dashboard. By default, we show all Ad metadata, but some people like a more minimalistic look. For this, set the display size to ‘compact’.

Inside the Dashboard, each Ad will show the advertiser, Ad asset and Ad metadata. This is helpful in viewing all Ad information in one place.
The Ad title and copy is available just under the Ad asset. If the Ad copy is large, we show only a portion of it. Click on ‘Show copy’ to expand the Ad copy section.
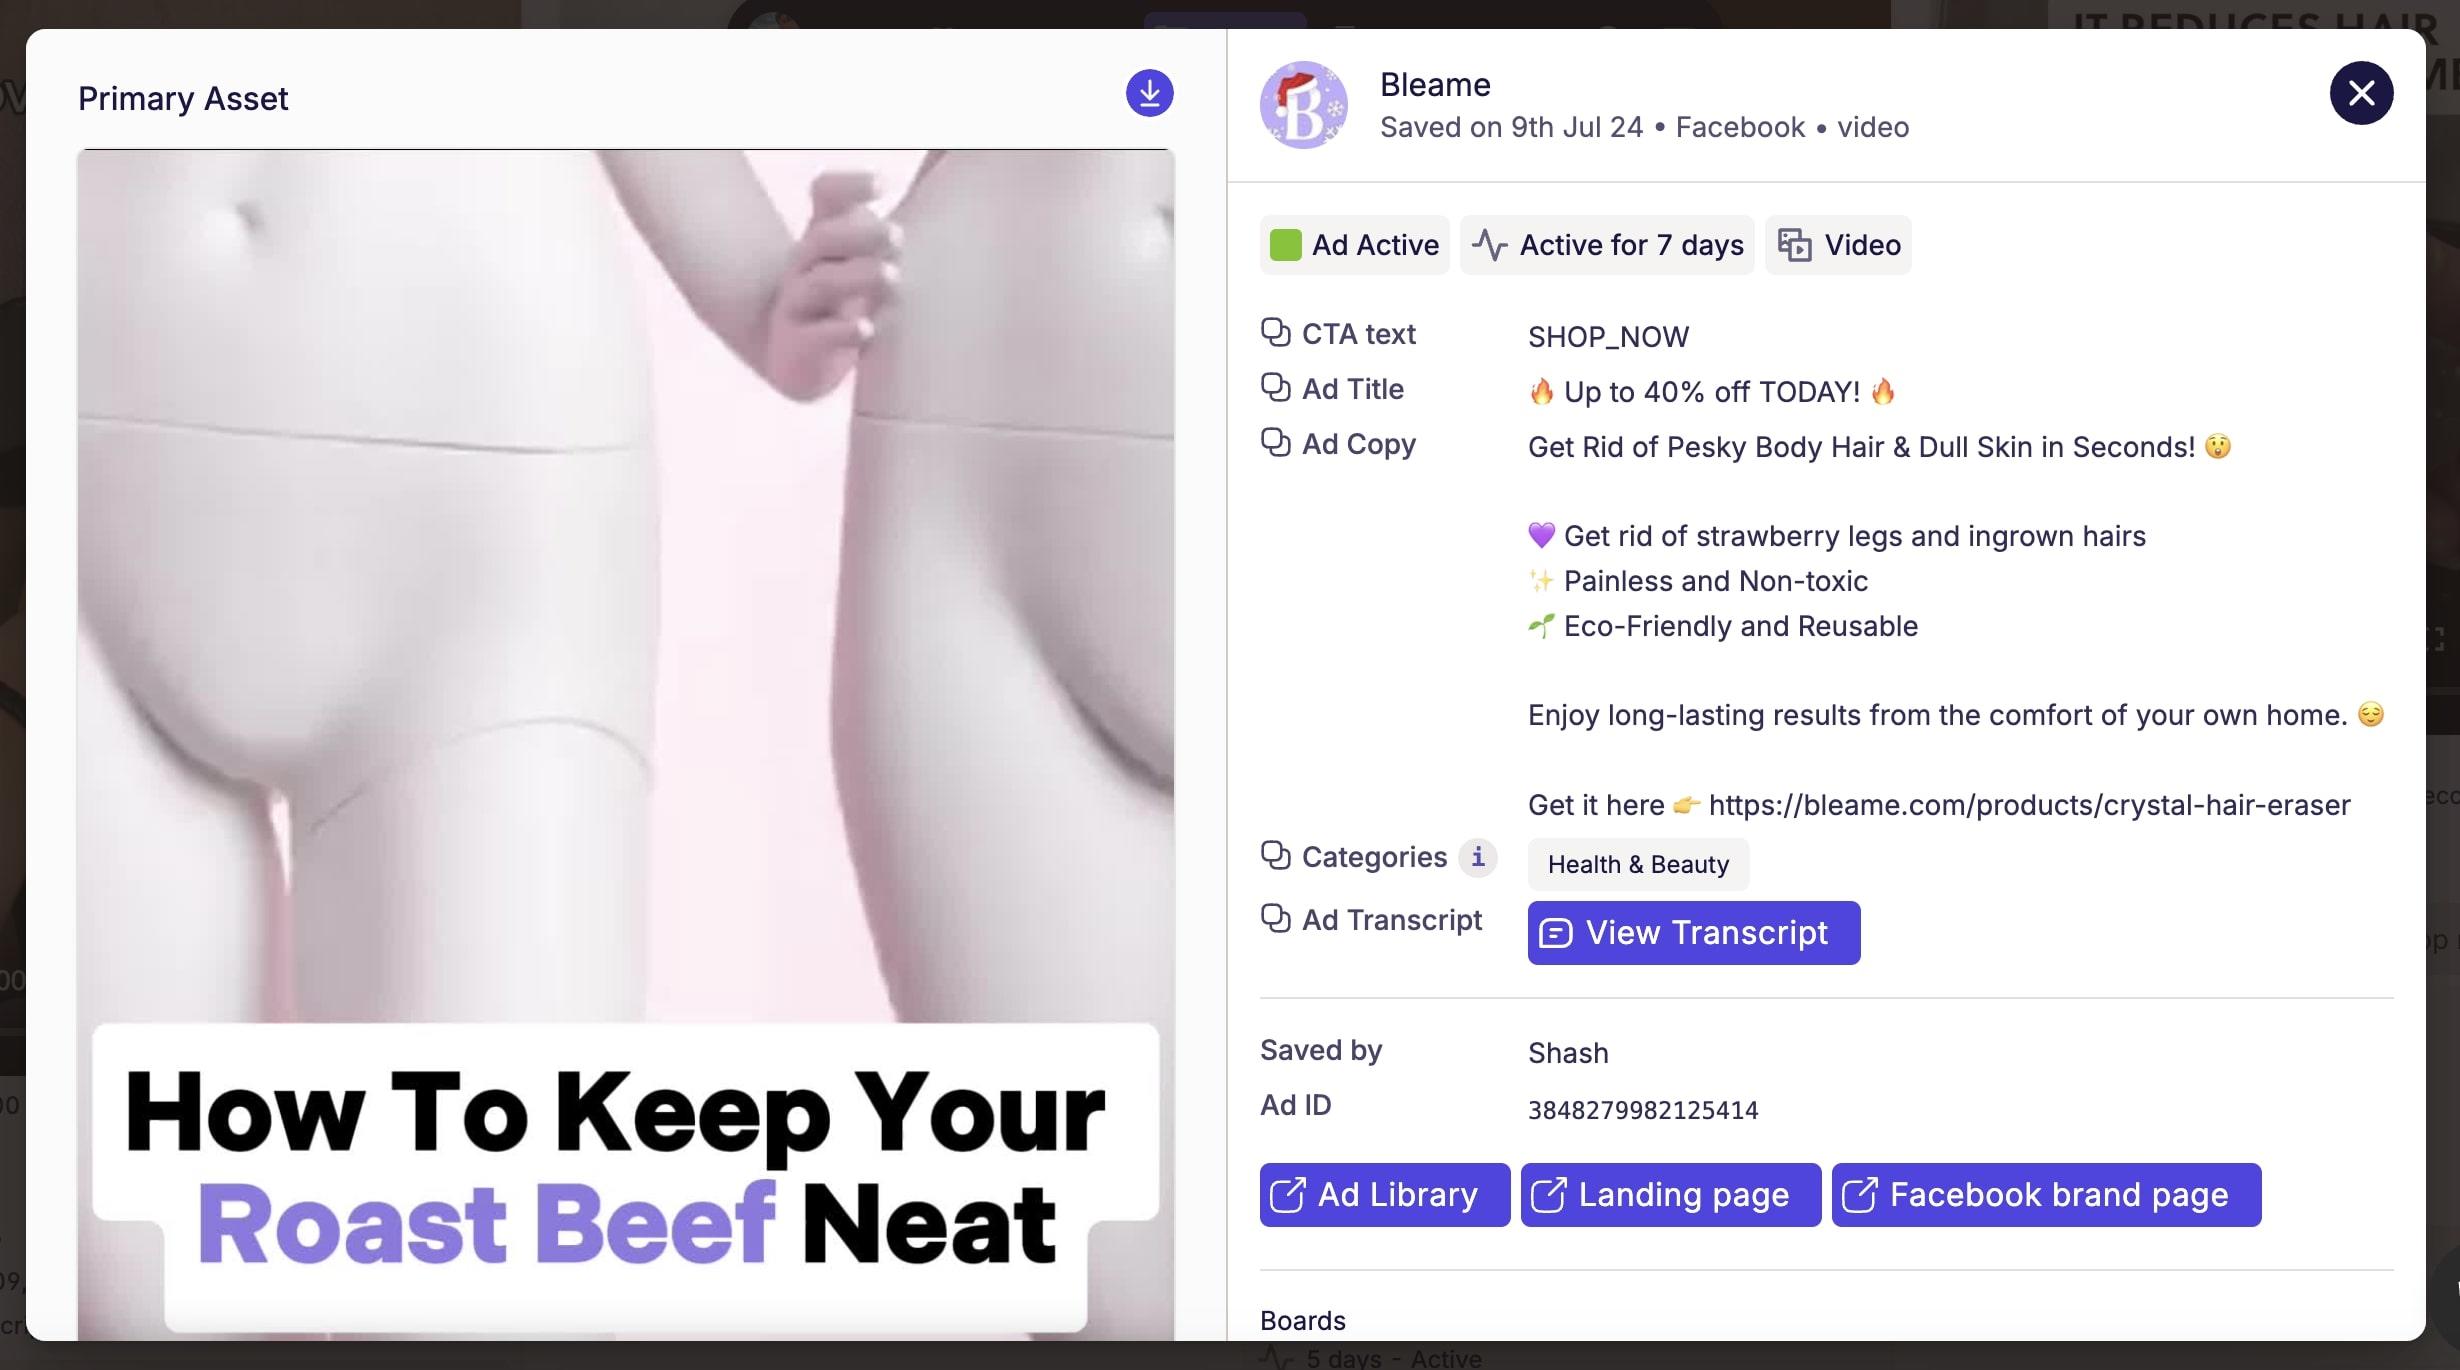
Clicking on any Ad will show the Ad details page.
The Ad card
The Ad card holds a host of information.
Every bit of information is here to help you narrow down Ad data and help you get an
overview of your competitor's strategy.
Notable, you can download the video asset from the Ad card. You can also view the
entire Ad copy inside the Ad card itself.
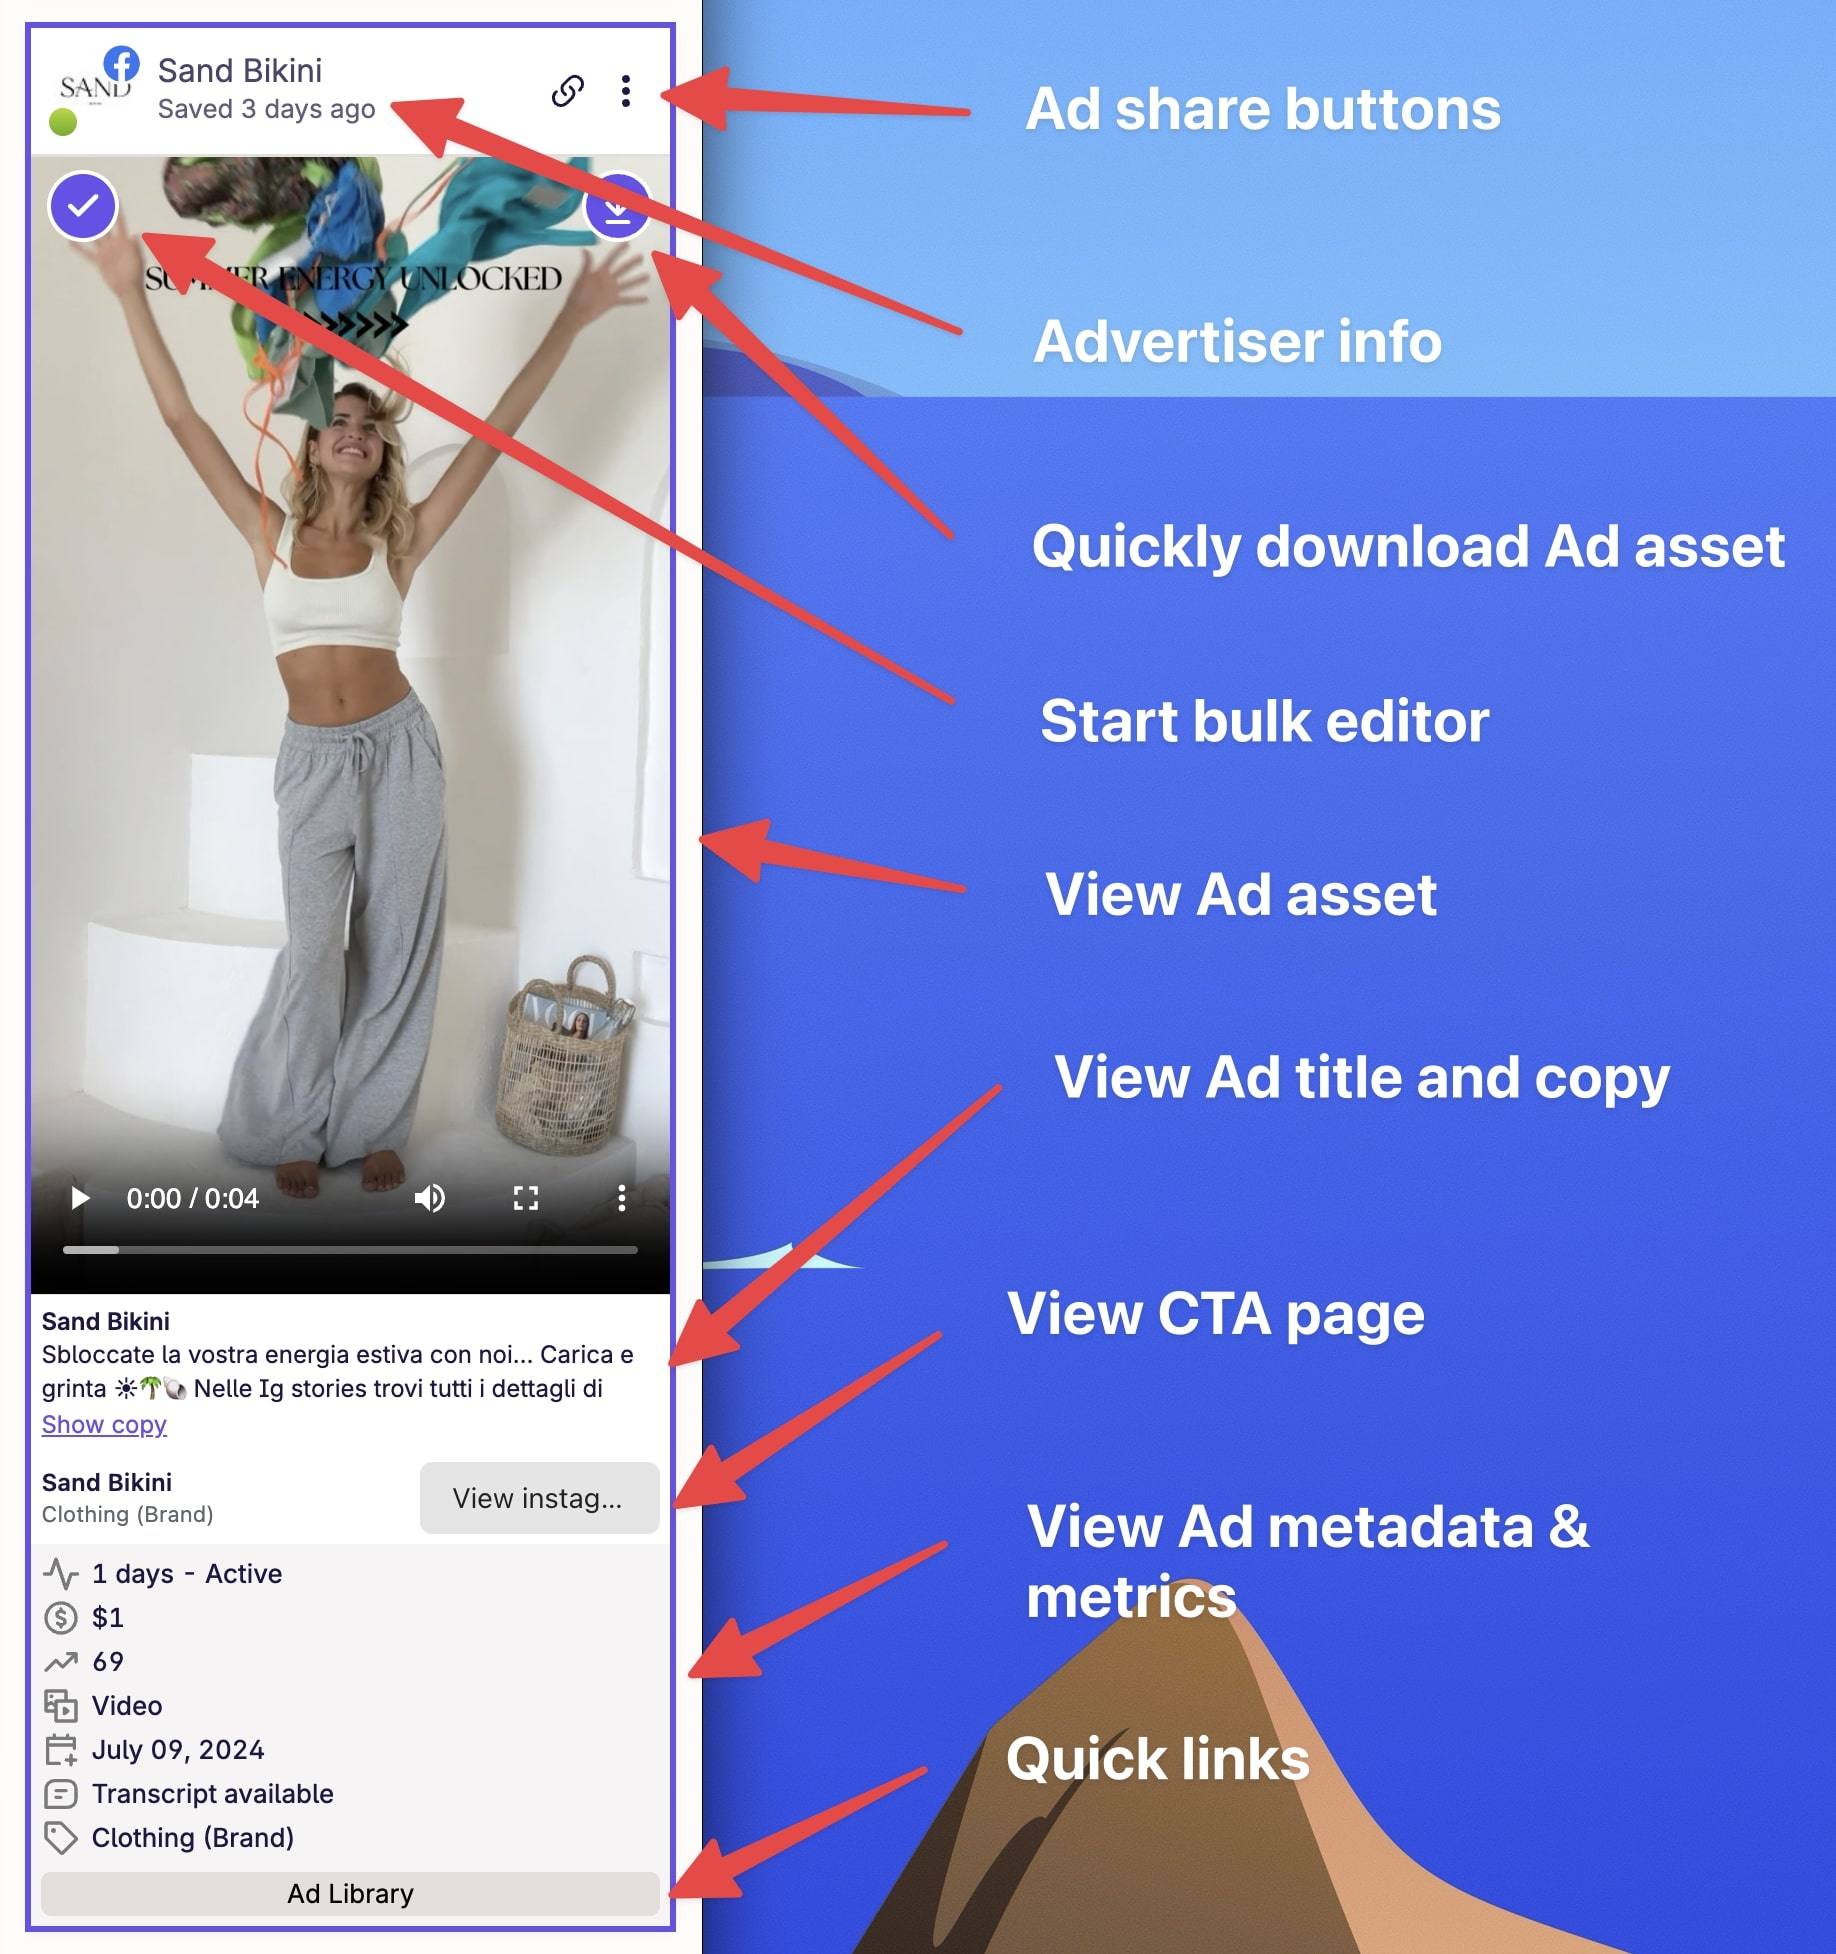
As mentioned above, if you find this data overwhelming, you can use the Ad card display size filter to adjust how much information is shown here.
Clicking on the Ad card will open up the Ad details page.
Ad details page
This is where you can see all info about the Ad.
Here, on the right hand side, you can view:
- Ad metrics if applicable
- Ad title and copy
- Ad Transcript
You can also:
- Assign Ads to boards
- Assign tags to boards
- View the Ad in the Ad library
- View the landing page
- View the brand page(Facebook only)
On the left hand side, you can view all assets of an Ad.
We give you a button on the top right corner of each Asset to download the asset
locally on your device.
Sharing Ads publicly
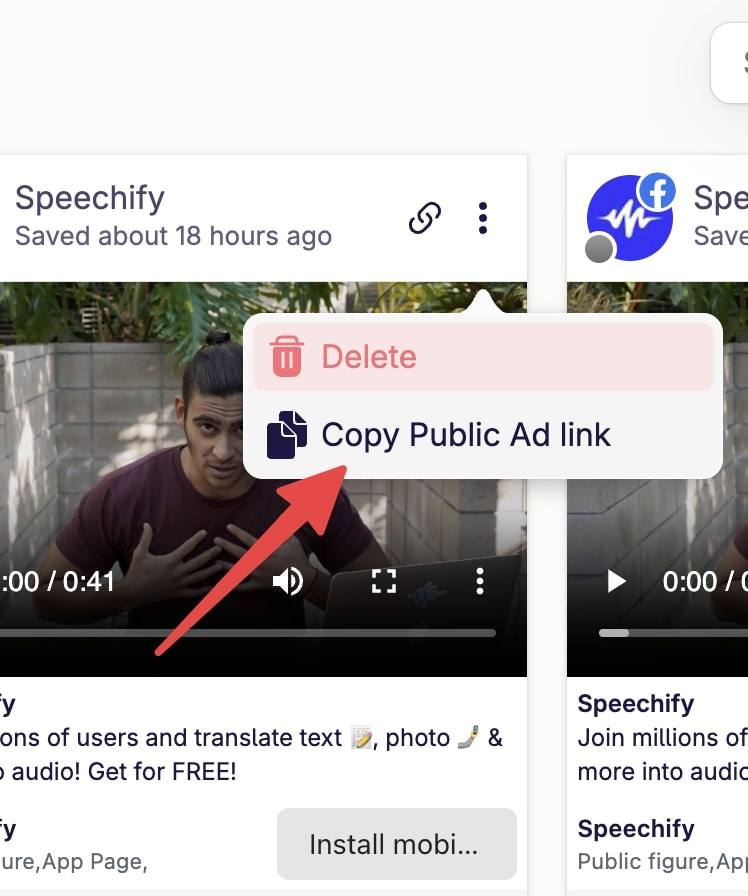
You can share individual Ads publicly with other people. They don't need to have a Swipekit account to view the Ads.
To share an Ad, click on the 3 dots on the right side of an Ad card.
Then click on 'Copy public ad link' button. Then open up a new tab and paste the link
in the url bar. This url can now be sent to anyone and they can view the Ad.
Embedding an Ad

You can also take this further. If you're using Notion, Clickup or other similar tool
for your workflow, you can embed Swipekit Ads directly inside it. To do so, click on
the link icon.
This will open up the Share Ad page. Simply follow the instructions for your platform
on this page.
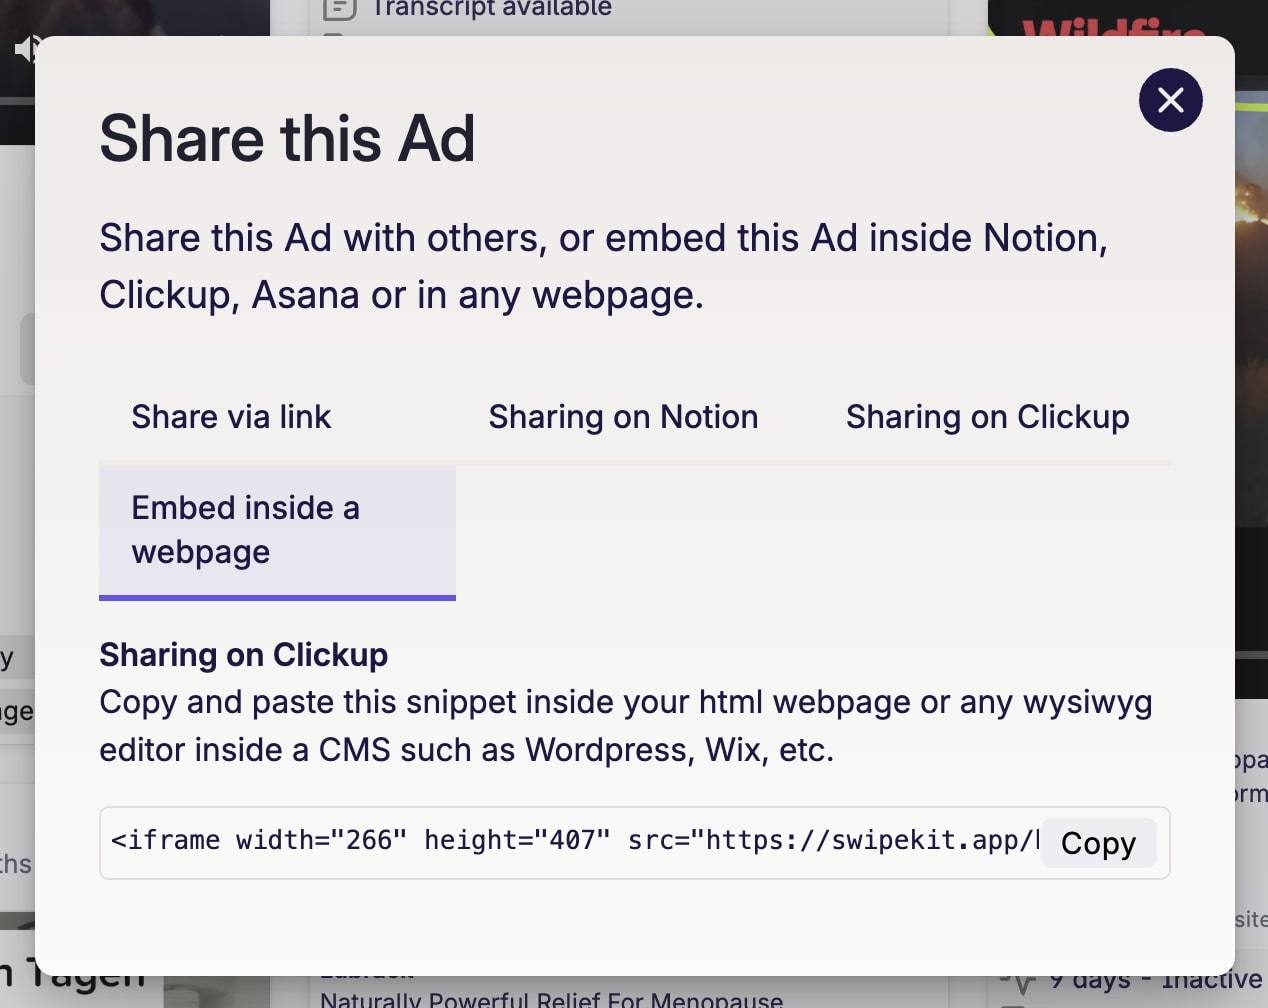
You can also embed the Ad via a iframe on your own website. For this, click on the 'Embed inside a webpage' link in this page and follow the instructions.
Here's an example embed:
Bulk editor
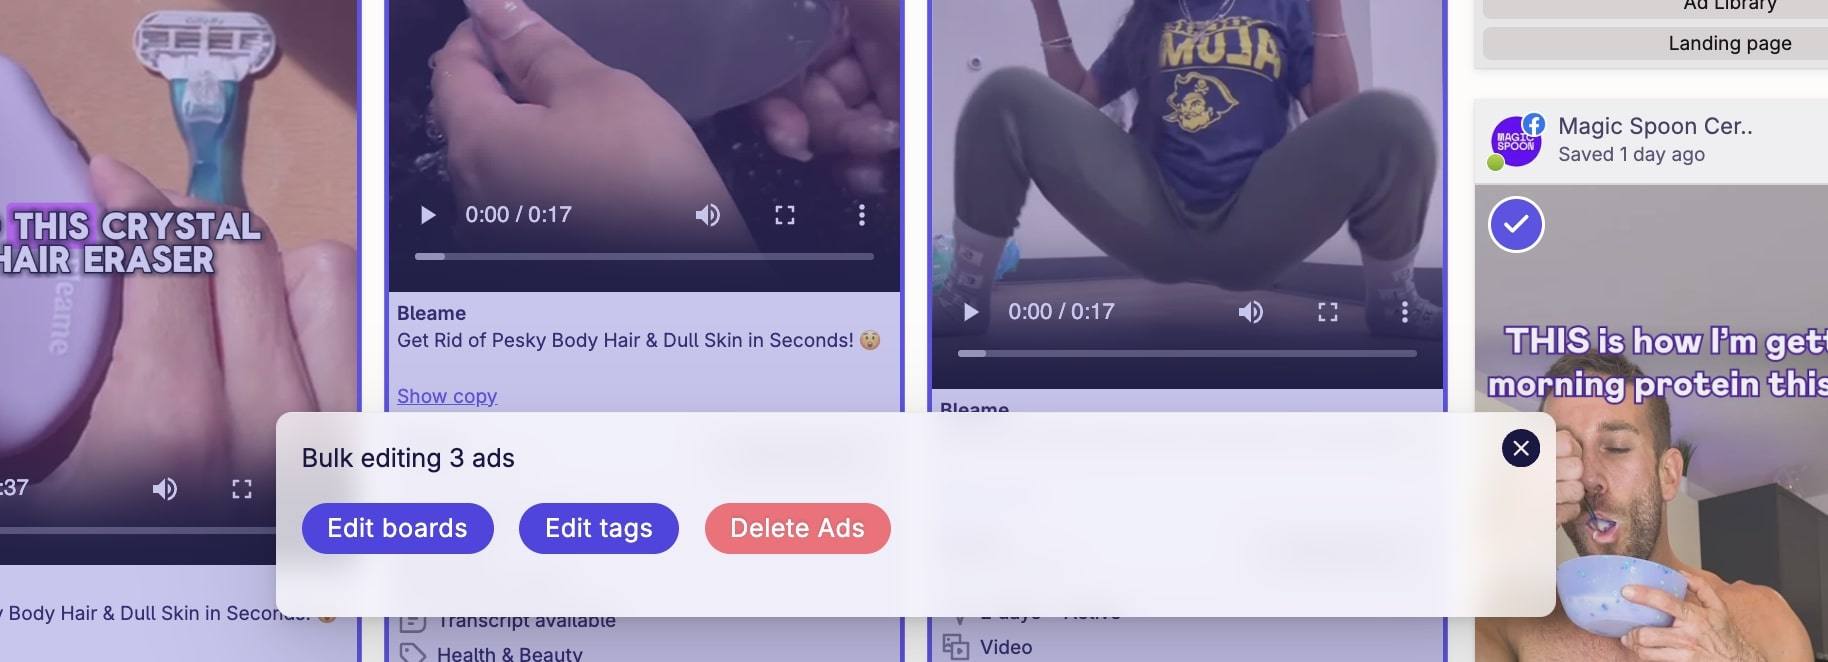
Every now and then you'll need to assign common tags to a bunch of Ads, set Ads in a specific board, or delete Ads.
This is where the bulk editor comes in. To start bulk editing, click on the tick icon
on the top left corner of any Ad. Then click on each Ad you want to bulk edit.
Then choose one of the option in the bottom panel to bulk edit.
Swipekit Boards
Boards help you organize Ads.
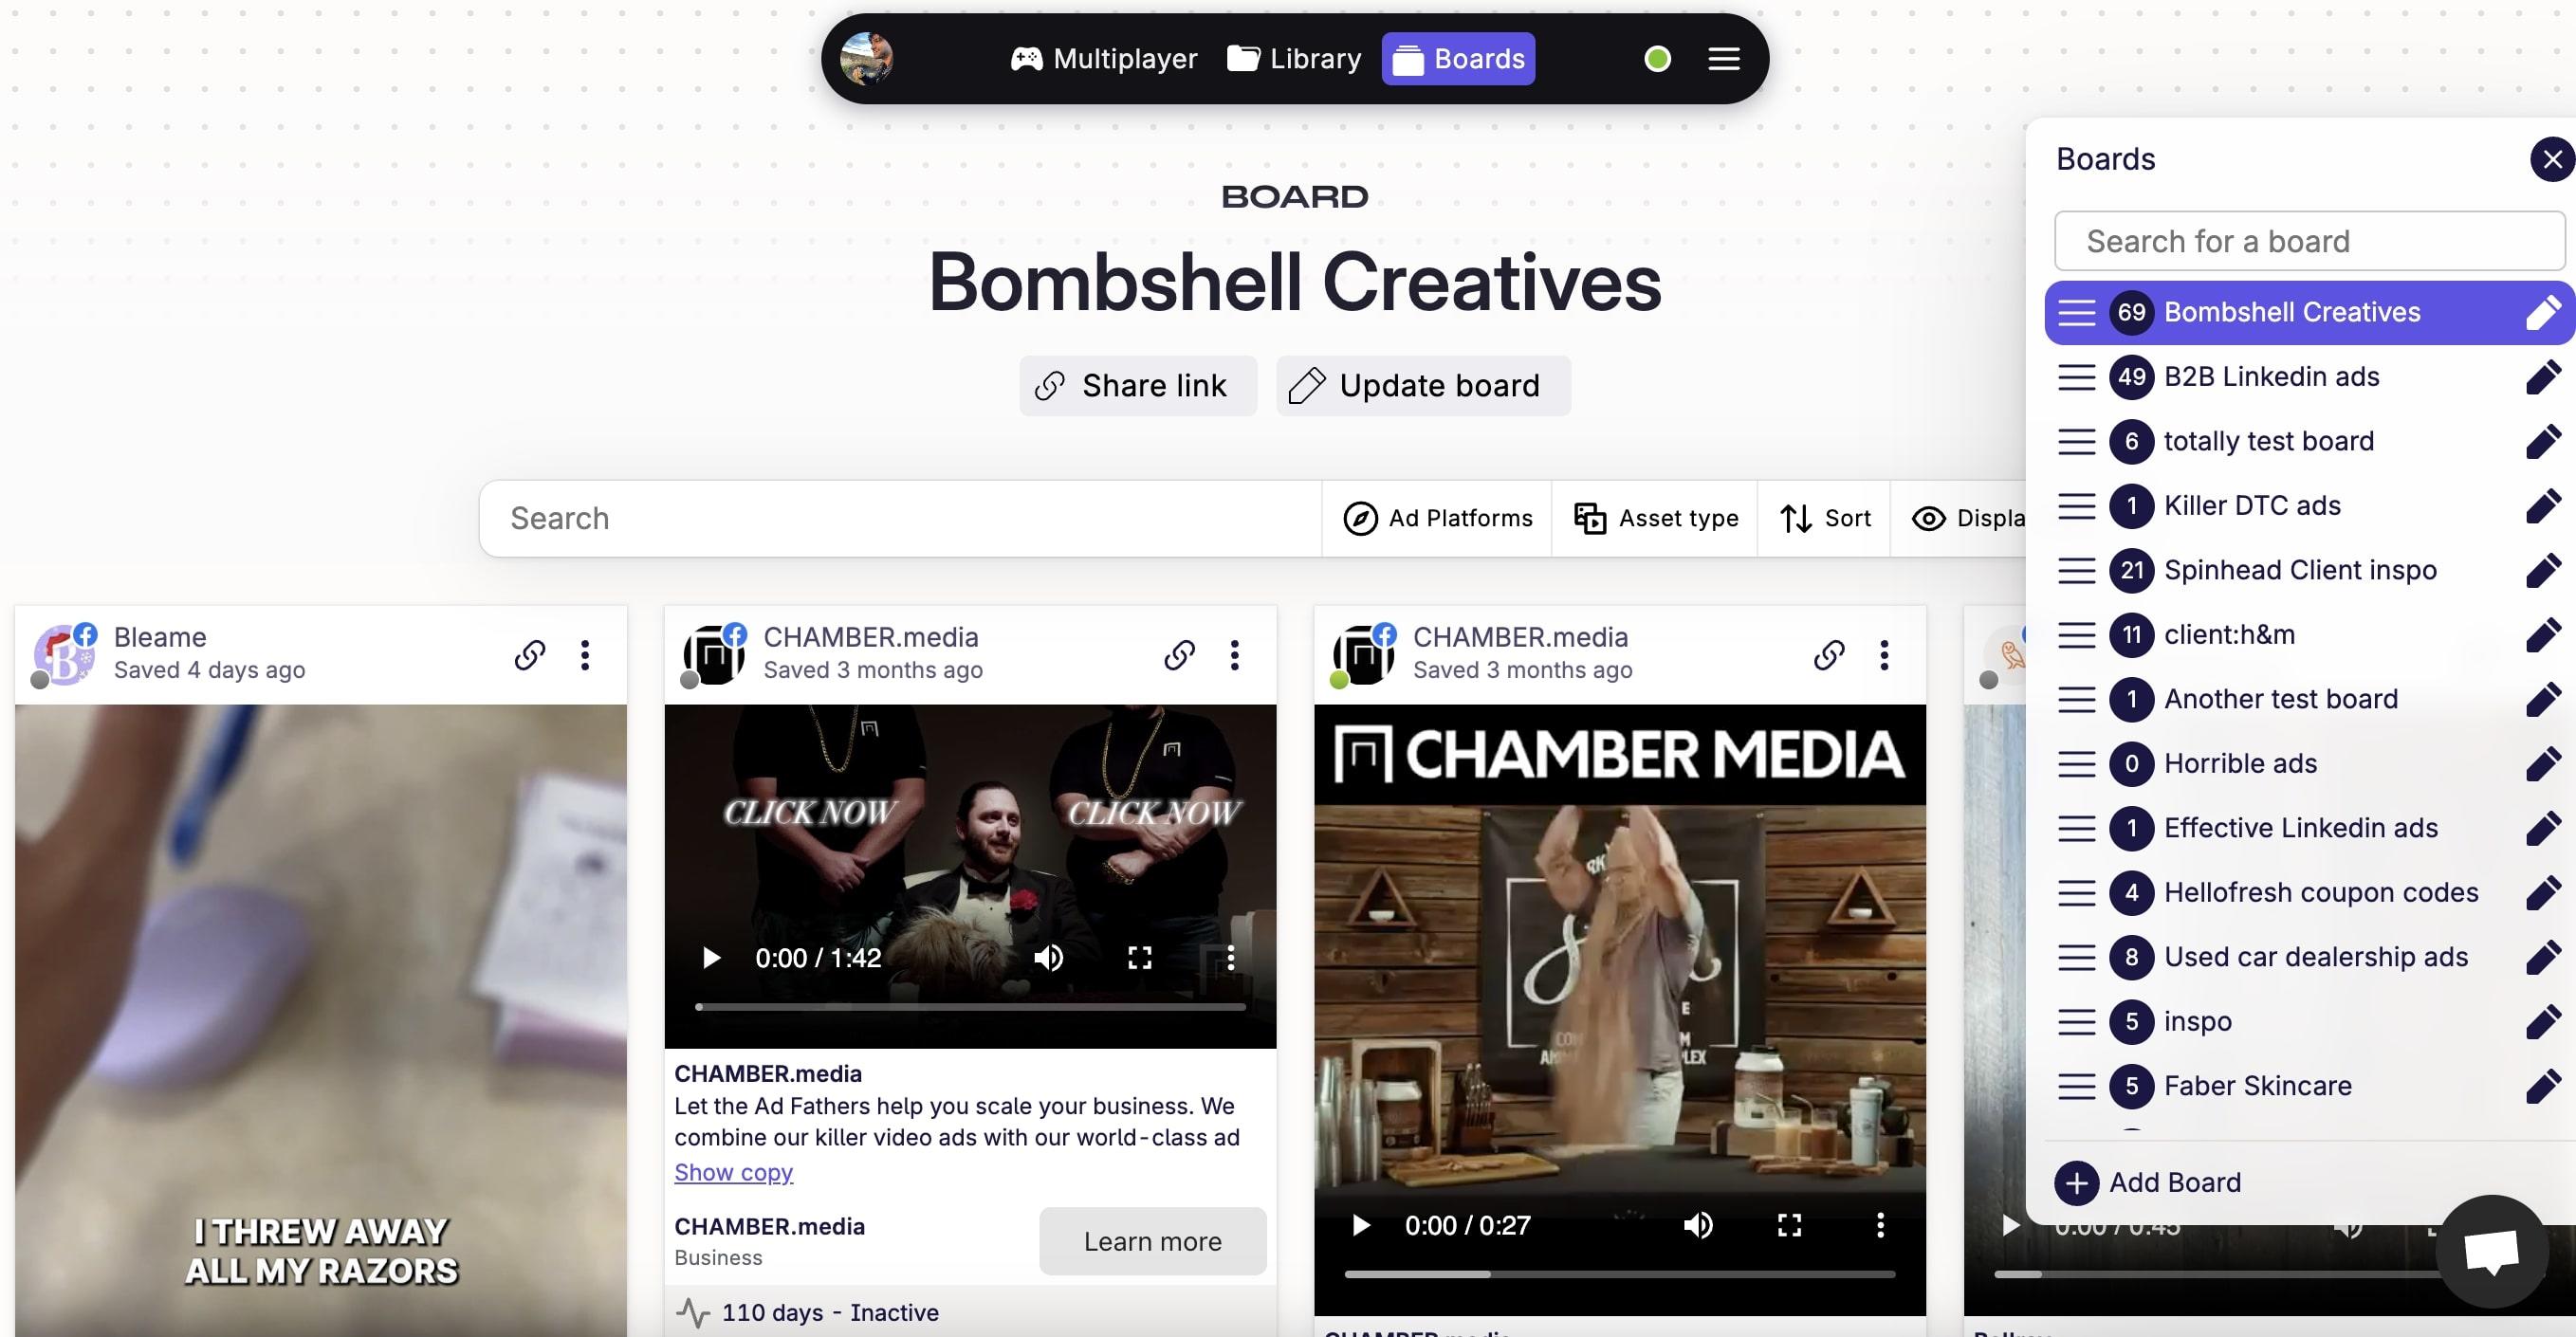
Click on the ‘Boards’ in the top menu to open the Boards sidebar. Then, click on ‘Add board’ at the bottom of the sidebar to create your first board.
Inside each boards, you can filter your Ads by:
- Ad platforms(Facebook, Instagram, Tiktok, etc)
- Asset type(Video, image, carousel, etc)
- Sort by Ad reach, Ad running Ads, saved At, etc
Additionally, you can make your board public. This is great for sharing Ad ideas with clients and creators.
To make a board public, click on the ‘Share link’ button under the board title. This
will open a publicly viewable page for the board.
If this button doesn’t show up, click on ‘Update board’ under the board title and
select ‘Make this public?’ and update the board.
Here's an example of a public board.
Deleting a board won’t delete the Ads inside the board. They will still be available inside your Swipekit dashboard.
Integration with the extension.
You can create boards from the extension itself. Underneath the save button, click on
the plus symbol to create a boards.
You can also save an Ad in a board by clicking on the dropdown under the save button
and selecting a board. You can select multiple boards too. In this case, the Ad will
be saved in multiple boards.
You can also set a default board on all Ads by clicking on the Swipekit extension icon
and selecting a board. This will set the dropdown of all Ads on the page to the
selected board.

Swipekit Folders
Folder help you organize boards.
Over time, as you create more boards, they will become unorganized. You might want to organize boards per clients, or whatever your workflow style is.
This is where you want to start organizing by folders first.
You can make a folder as hidden. This will make the folder as well as the boards inside the folder hidden from other members inside your workspace.
Only you and the admin user can view this folder and all boards inside this folder.
Couple of things:
- You'll have a "Default" folder inside your workspace. All your boards will be here by default. You cannot delete this folder.
- When you delete a folder, all boards inside said folder will be moved to the Default folder.
- You cannot save an ad inside a folder.
Swipekit Multiplayer
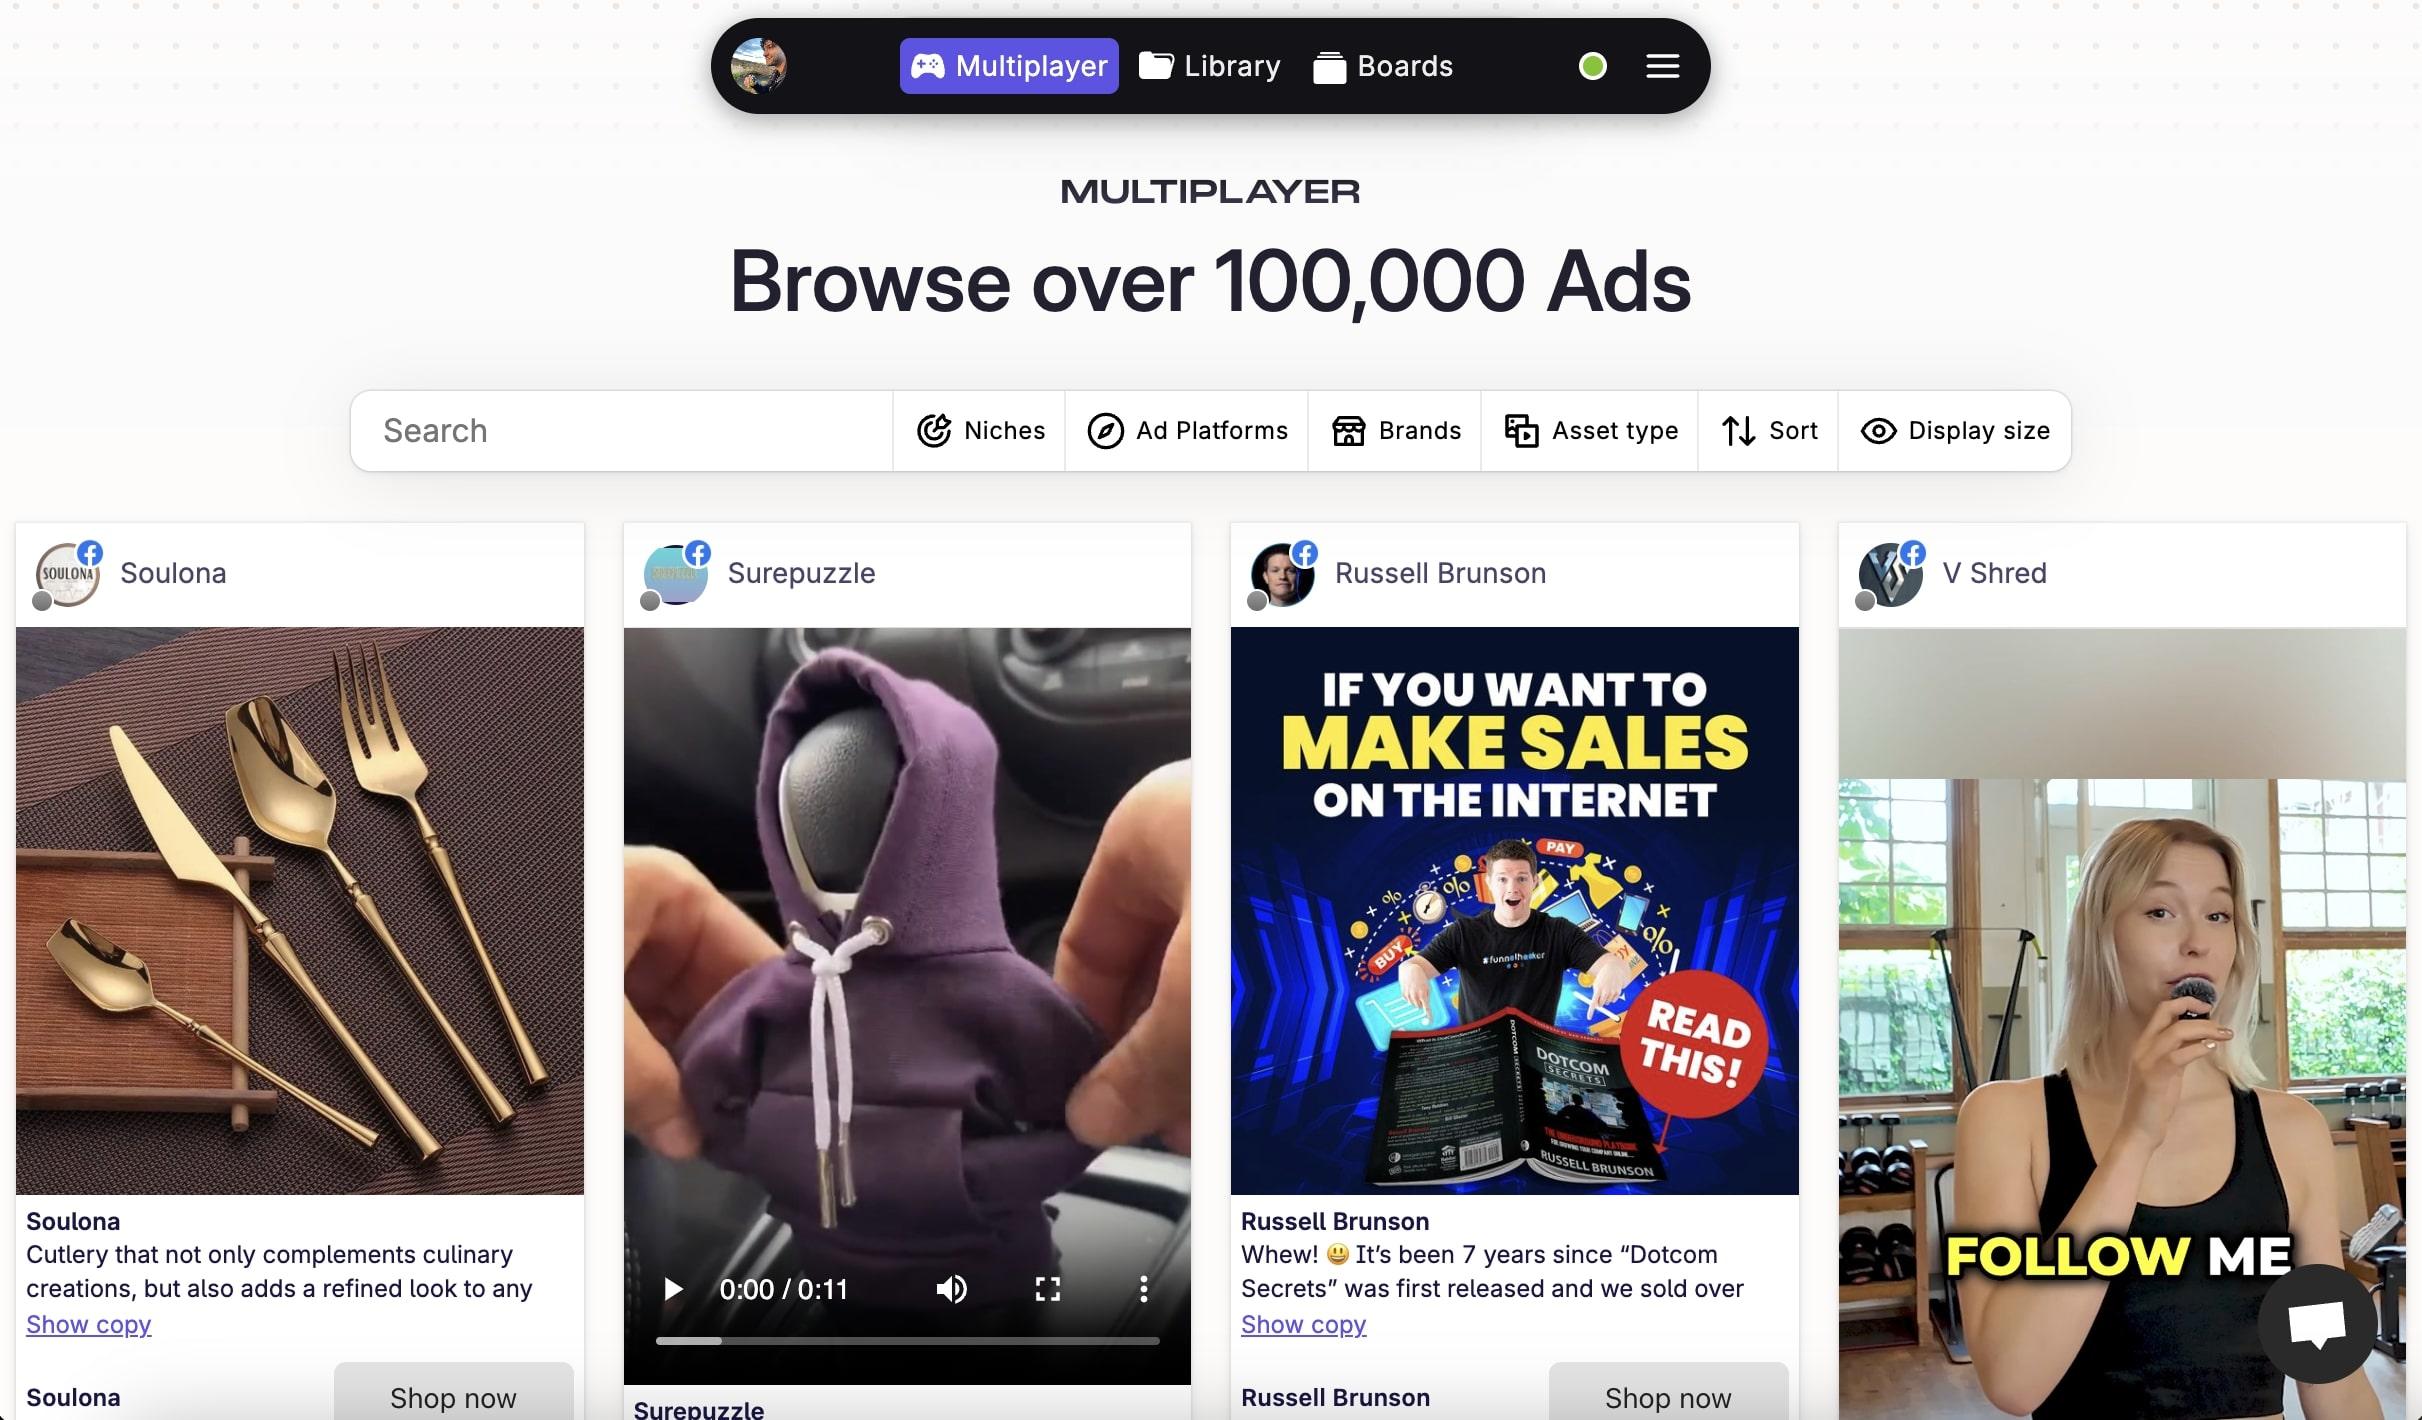
This is where all Ads saved with Swipekit are shown here.
Here, you can filter Ads by:
- Niches(Over 100+ niches available)
- Ad platforms(Facebook, Instagram, Tiktok, etc)
- Brands(Nike, Bleame, Magic spoon, AG1, etc)
- Asset type(Video, image, carousel, etc)
- Sort by Ad reach, Ad running Ads, saved At, etc
In particular, sorting combined with the niches filter will help you find winning Ads easily.
Note that Swipekit multiplayer will only show the raw Ad data. It won’t shown:
- Who saved the Ad
- Which board this Ad is in
- What custom tags this Ad has
In other words, user information is kept private.
Swipekit Multiplayer’s landing pages
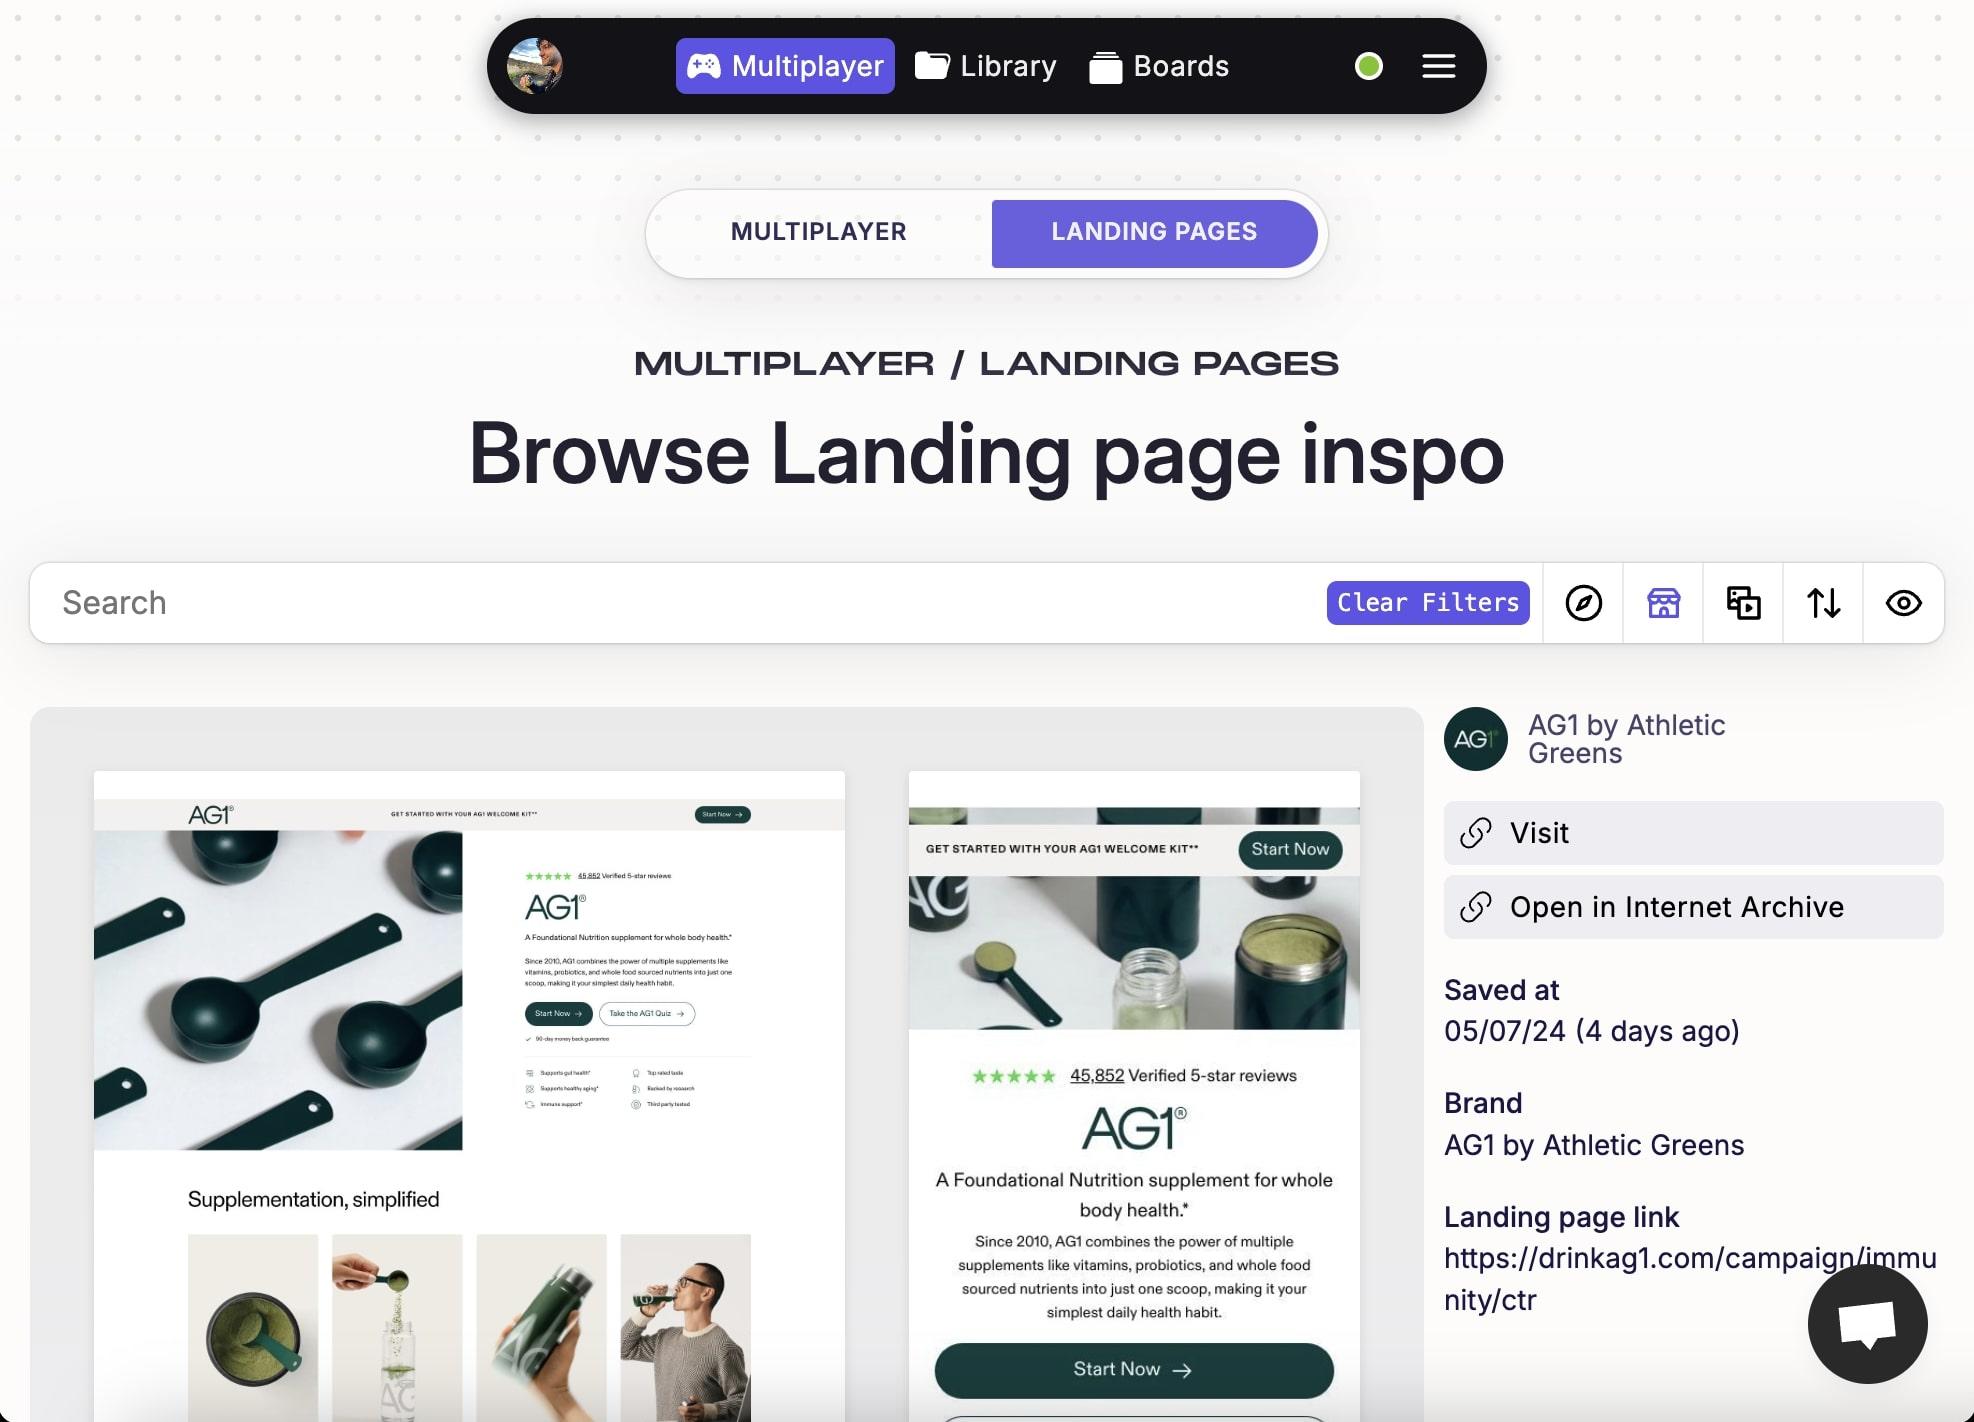
This is a great place to view landing pages. Here, you can filter landing pages by:
- Ad platforms(Facebook, Instagram, Tiktok, etc)
- Brands(Nike, Bleame, Magic spoon, AG1, etc)
- Asset type(Video, image, carousel, etc)
- Sort by Ad reach, Ad running Ads, saved At, etc
In particular, brands filter is useful to view Ad strategy of various brands. Select a brand to see how their landing pages evolve over time.
Link to the landing page is provided on the right hand side. If that doesn’t work(landing page taken down, 404, etc) you can view the landing page in internet archive.
Brand Tracker
Using the Brand Tracker, you can get access to any brand's Facebook ad library page via Swipekit. No need to visit their Facebook ad library page again and again.
Benefits- No need to visit the Facebook Ad library to keep track of your competitors.
- Save the brand's latest ads from Swipekit.
- Get insights on periodic brand data.
Brand Tracker Insights
Brand Tracker will generate insights from the brand data.
This will include:
- Creative breakdown - Known what kind of ads your competitor is running. Get insights on whether they are going hard on static ads, videos or other formats.
- Timeline - Known the frequency of their release schedule.
- Landing page links - Get all common landing page links from their ads. This will help you understand which LPs they are diverting most of their traffic to.
- Common word occurrences - Get all commonly used words from their ad copy.
- Common networks - Known where they are running their ads on(inside Meta's network)
You can also filter insights by lifetime, last 7 days or last 30 days.
Lastly, the longer you're tracking a brand for, the more insights we will generate. You will get brand data within 24 hours but its best to track a brand for at least 30 days for useful insights to appear.
Brand Tracker Ads
Brand Tracker will automatically scrape ads for you. No need to visit the Facebook ad library again and again.
Custom uploads
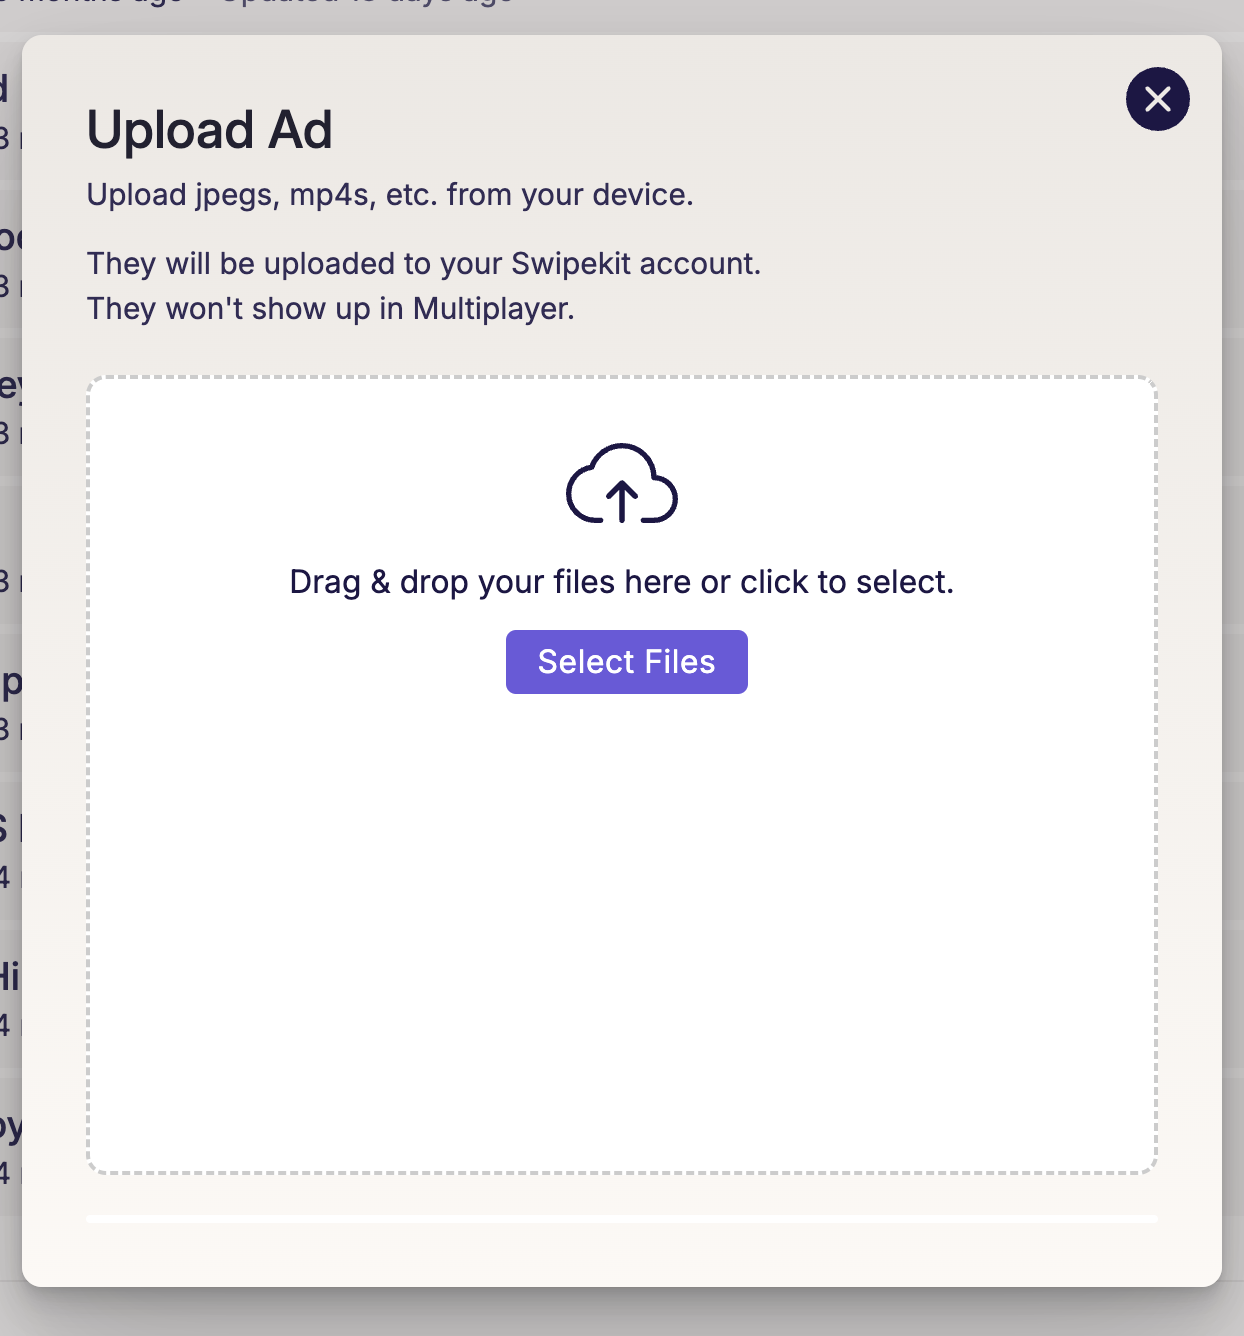
You can upload your own assets(jpeg, mp4s) in your Swipekit library.
This is useful in three ways:
- You can organize your complete swipefile collection in one place. No need to use different apps.
- All tagging, boards and filters will work.
- Added bonus - upload mp4 and you can generate its transcript inside Swipekit itself.
Tagging
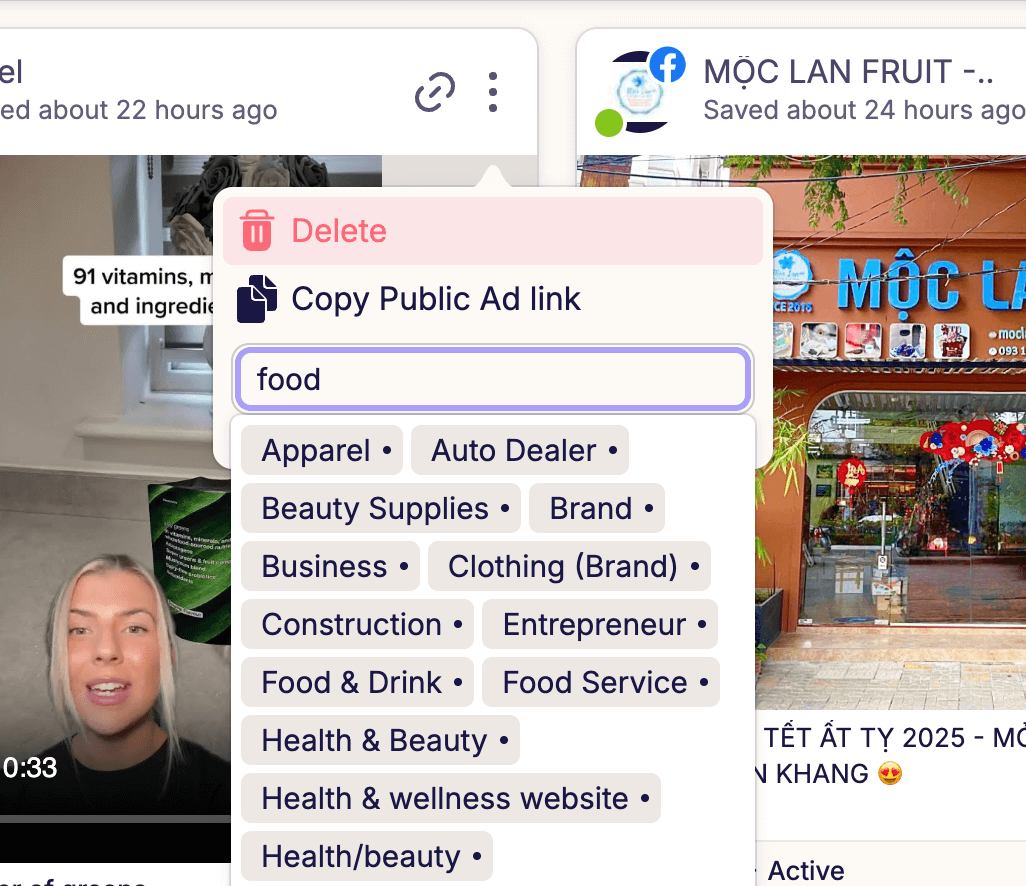
You can set tags on ads.
This is good for organizing ads based on your workflow.
To tag an ad, you can click on the 3 dots on the top right corner of the ad card and set tags.
You can also bulk edit ads and set tags on them via the bulk edit tool.
Finally, you can filter ads via the tags you set on them.
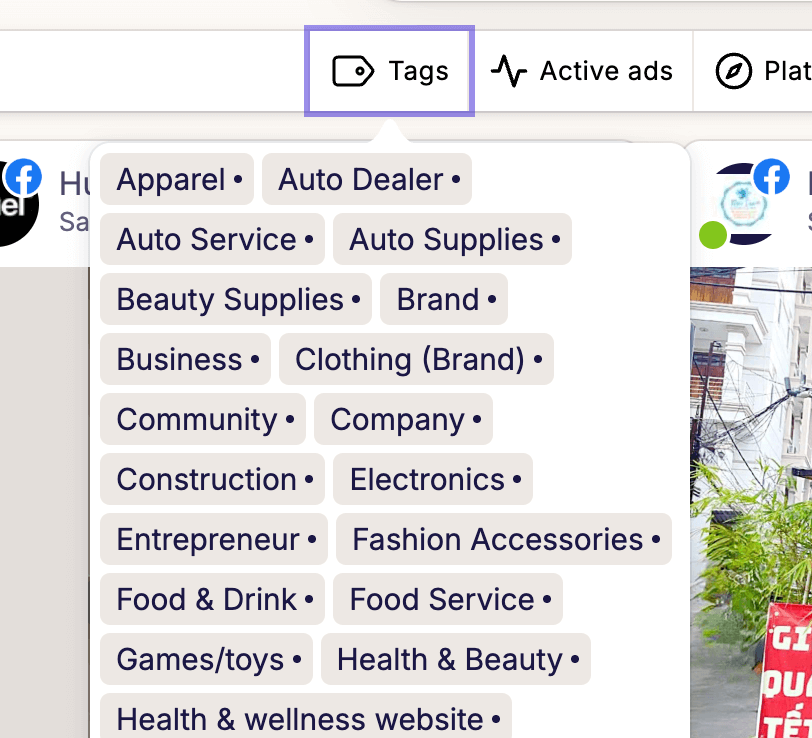
The tags filter will populate with your custom tags within a few minutes of setting your tags.
Ad Transcripts
After saving an Ad, Swipekit will try to generate the Ad’s video transcript. This is
great for generating your own Ads briefs by pasting the Ad transcript into ChatGPT or
other AI tool, and asking the tool to rework the Ad based on your own brand’s info.
You can view an Ad's transcript by opening the Ad details page for a given Ad and
clicking on the 'Show transcript' button underneath the Ad copy.
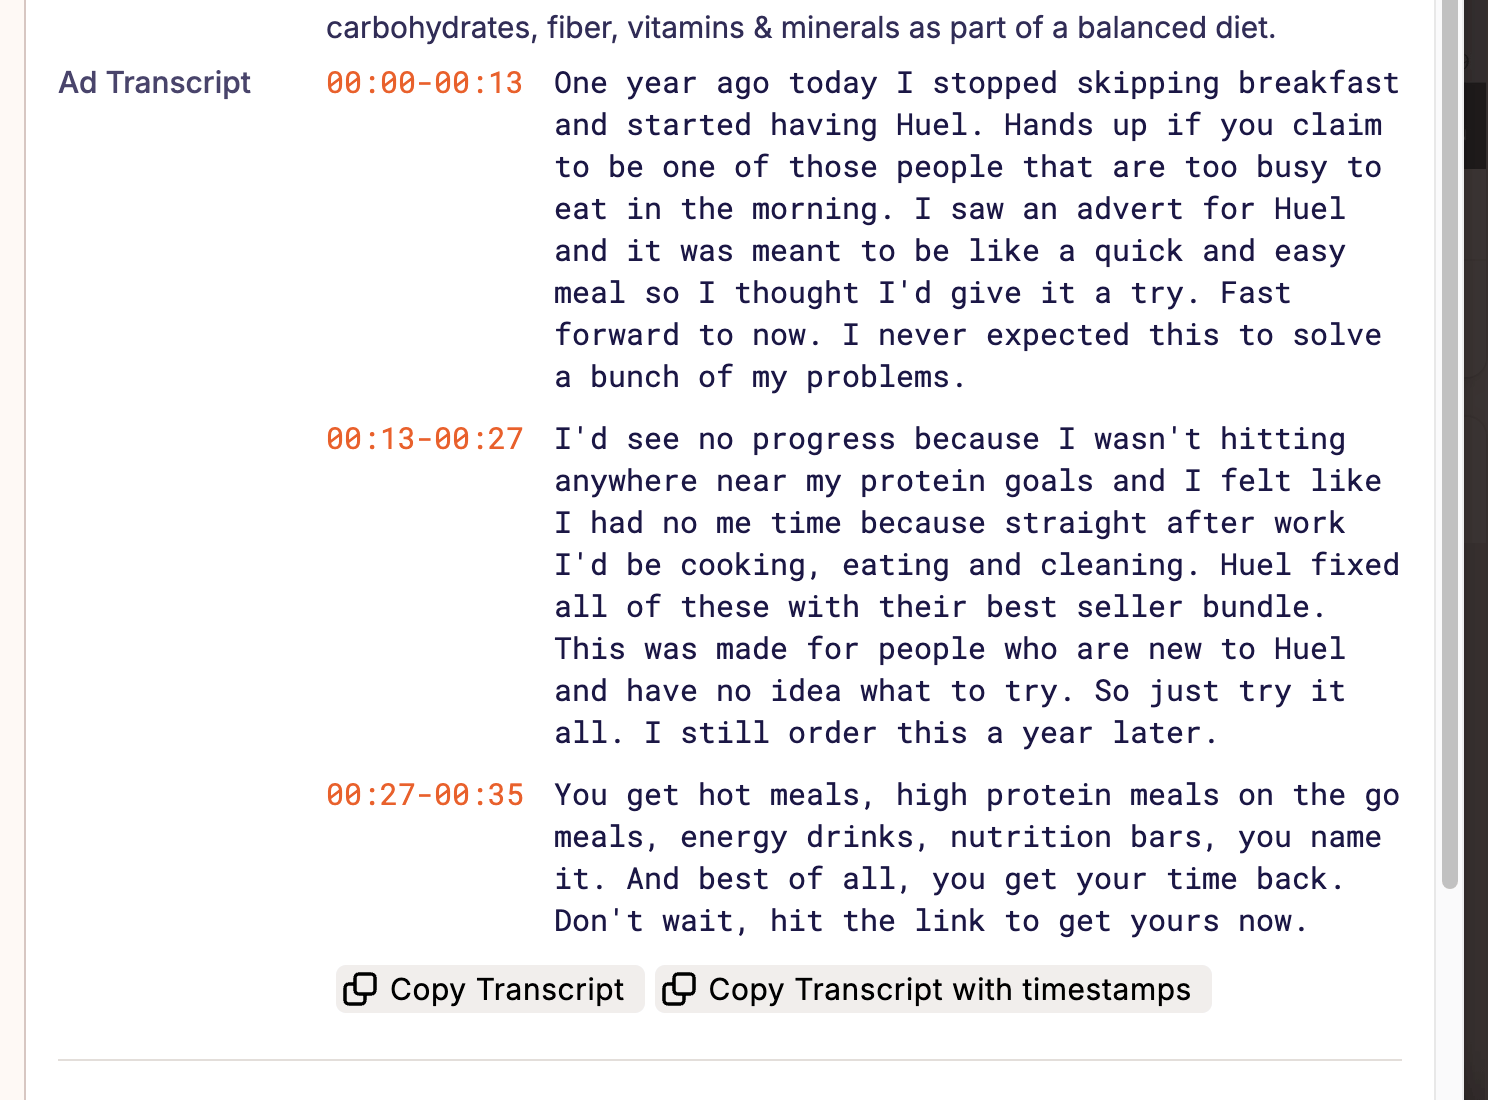
Here's a sample prompt:
I run a shopify store. My brand's name is {xyz}. We are in the {abc} category.
Here's an ad transcript of my competitor's Ad:

{transcript}

Generate Ad title and Ad copy for an Ad, for my brand using the transcript above.
This will help you get a quickstart on Ads you can create.
Swipekit does not condone copying Ads. We recommend you use existing Ads as inspiration, not as source material.Save Ads for eternity
The easiest way to find & save winning Ads
Get started today and see how easy it is to save Ads.
